Cakes and Cupcakes, Cookies, Recipes
Chocolate Chip Cookie Cake

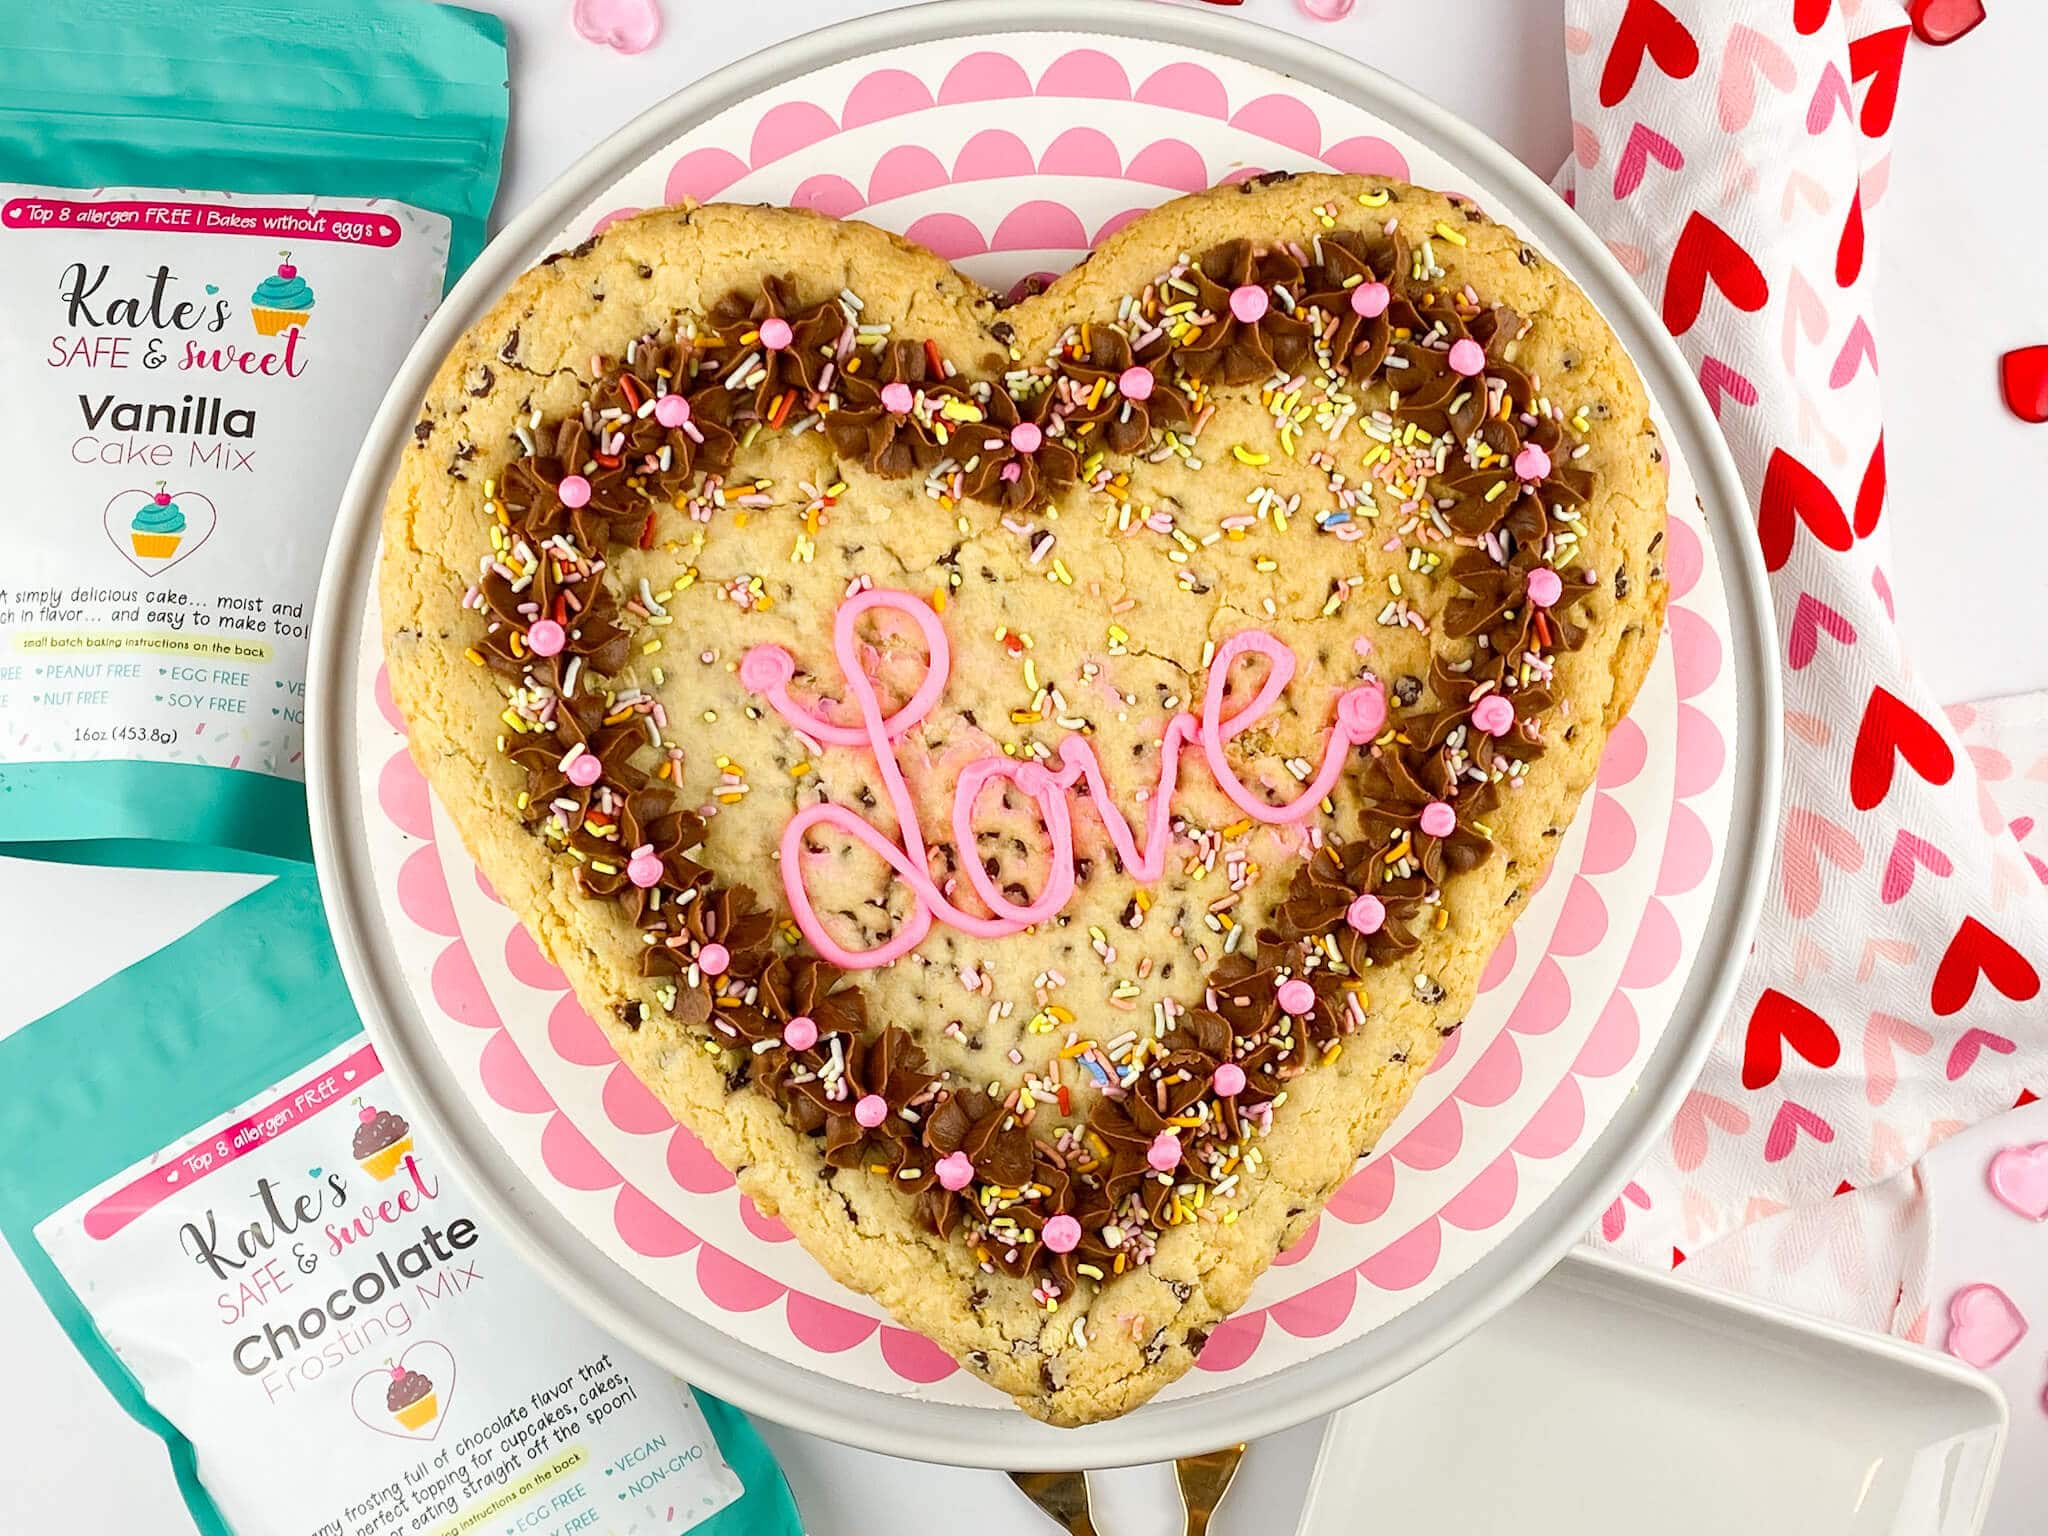
The kids and I were talking about make a chocolate chip cookie cake for months now and I finally decided Valentine’s Day was the perfect time to give it a try. We made this last week and apparently as we were getting out the ingredients I was told that it was my sons favorite stuffies birthday – so we celebrated – because why not!?! We decided to bake our cookie cake in a heart-shaped pan and it turned out super cute… and delicious! Of course you can bake this in a regular round pizza pan too.

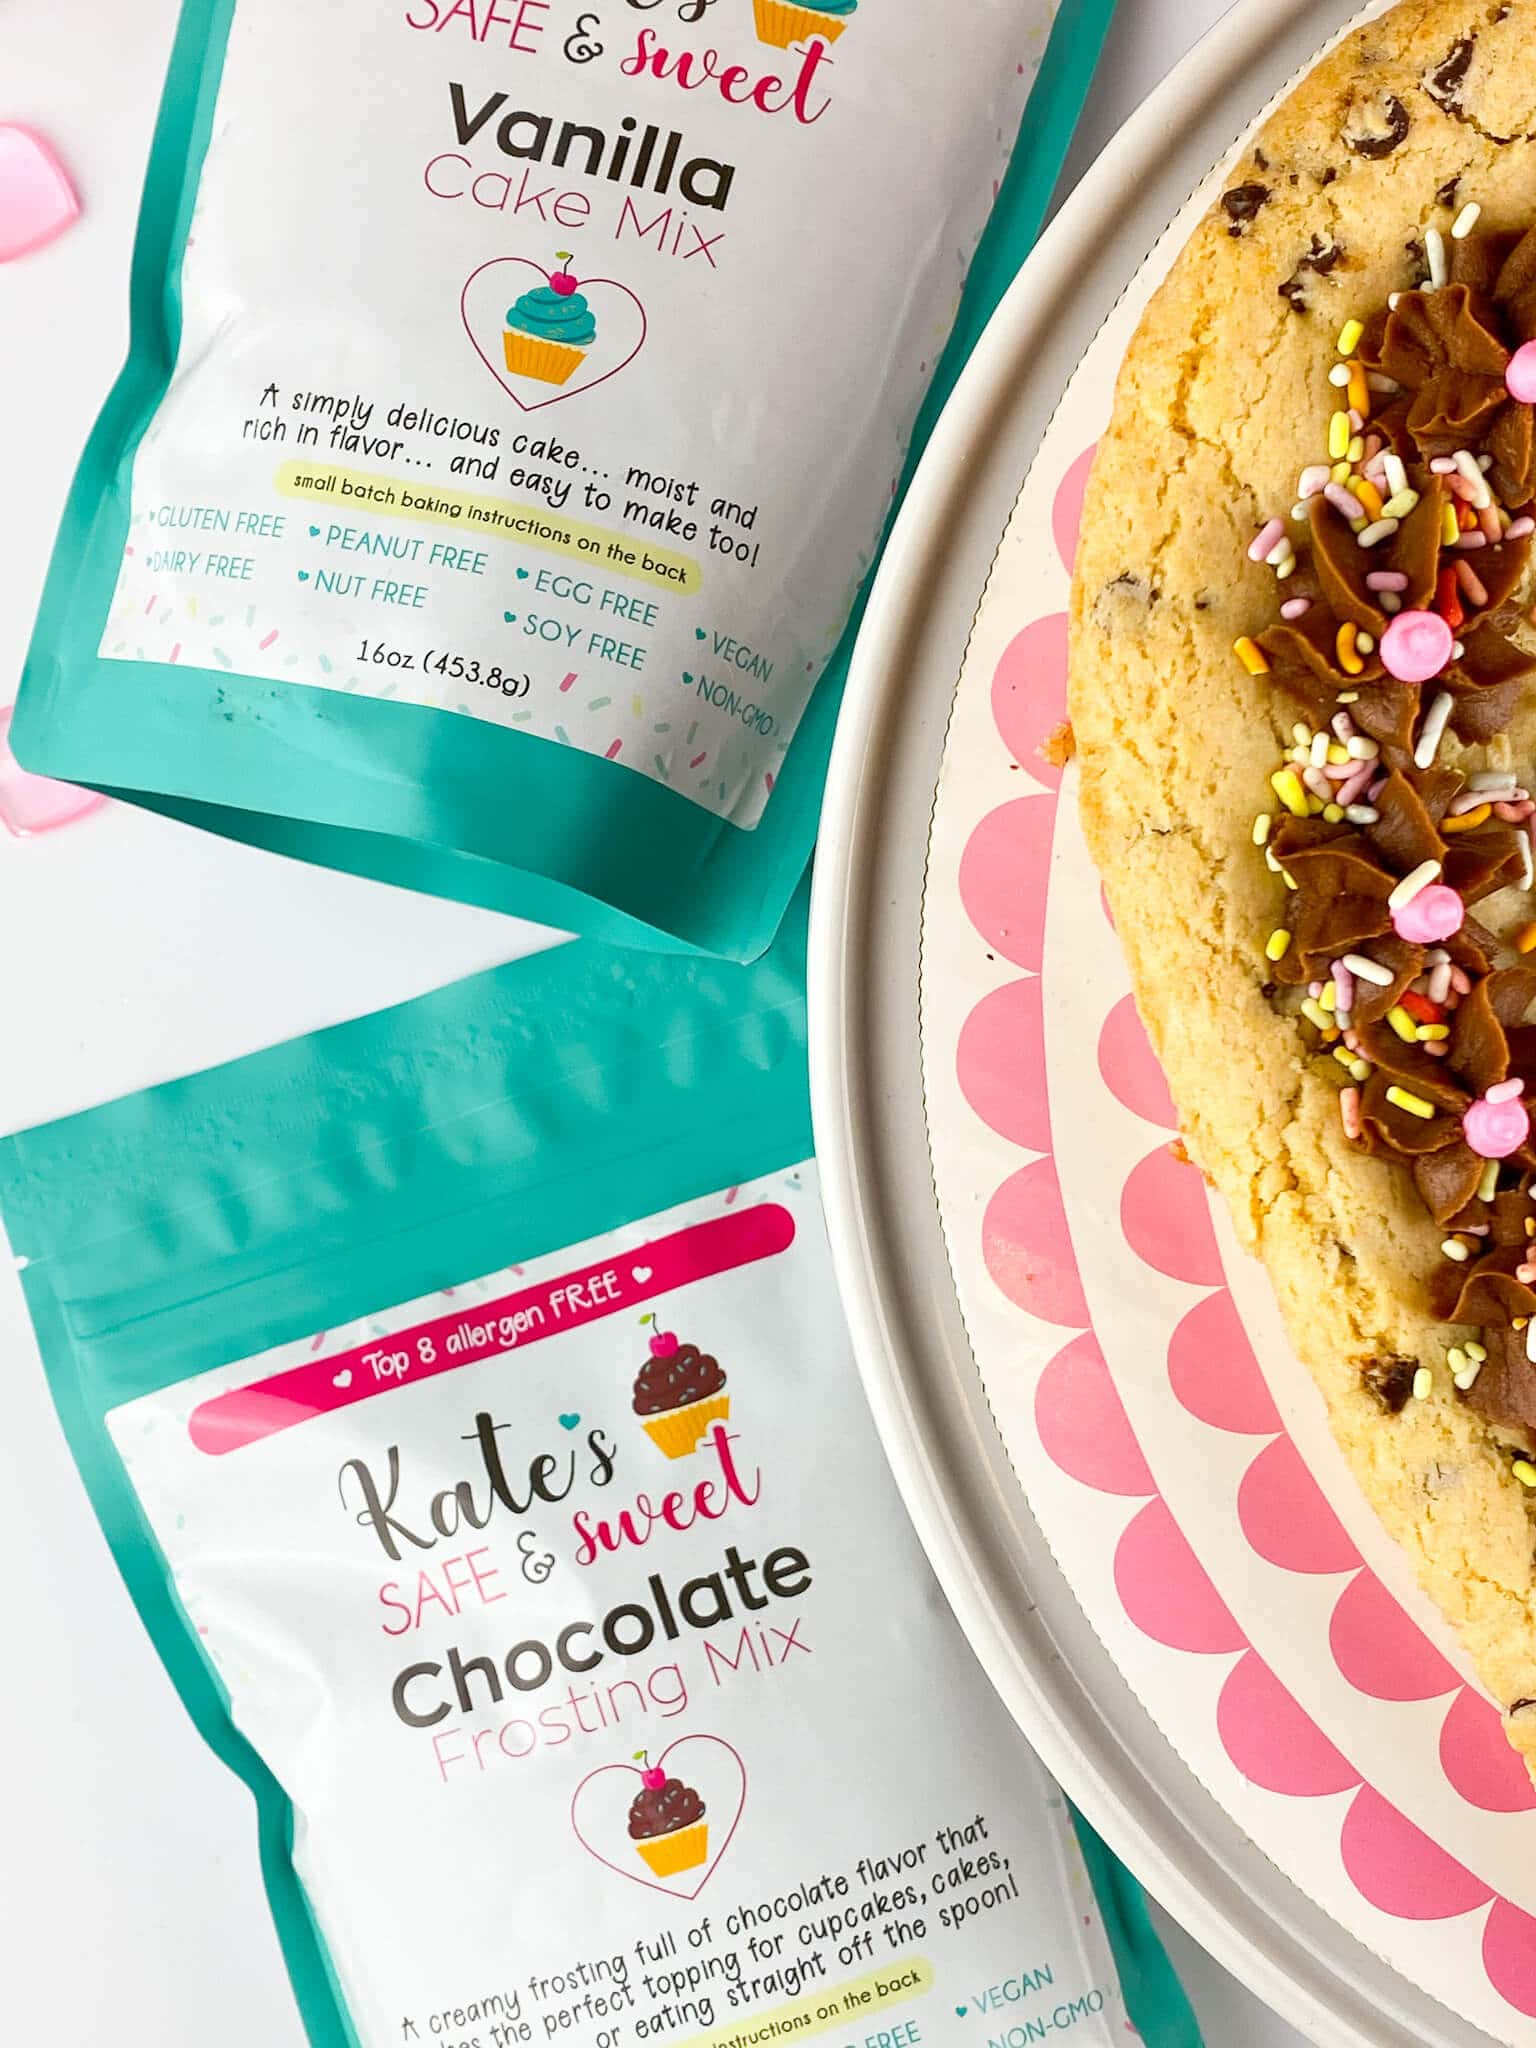
For this recipe you’ll need our vanilla cake mix and your choice of frosting. We used both chocolate frosting mix and vanilla frosting mix to top ours and decorated in a Valentine’s theme. You will also need to use your choice of safe chocolate chips and sprinkles are optional.
Depending on your choice of chocolate chips this recipe is top 14 allergen free, gluten free and vegan.
The first step to making these is to gather all your ingredients and supplies.
Chocolate Chip Cookie Cake
Makes approximately 24 brownie truffles.
Tools Needed:
- Mixing bowls
- Pizza or Heart-Shaped Baking Pan (12″)
- Parchment Paper (optional but does help to avoid sticking)
- Spatula & Mixing Spoon
- Measuring Cup
- Hand or Stand Mixer
Cookie Cake Ingredients Needed:
- Kate’s Safe & Sweet Vanilla Cake Mix
- 1/8 cup light brown sugar
- 1 tsp baking powder + 1 tbsp water
- 3 tbsp brown rice flour
- 3 tbsp tapioca flour
- 1/4 cup unsweetened applesauce
- 1 1/2 tbsp maple syrup
- 3/4 cup butter of your choice
- 1 cup mini semi-sweet chocolate chips
Frosting Ingredients Needed:
- Kate’s Safe & Sweet Vanilla / Chocolate Frosting Mix
- 3/4 Cup Butter/Shortening of your choice (if making two batches you’ll need twice that amount)
- Up to 4 tablespoons of your safe milk
- Sprinkles & Other Toppings (optional)
(above amounts are what is need to make a full batch. If you are making a half batch adjust ingredient measurements as needed per packaging.)
The first step to this is make the cookie cake.
Cookie Cake Instructions:
- Preheat oven to 350°F.
- Line your baking pan with parchment paper and lightly spray bottom and sides with non-stick cooking spray. Set pan aside.
- In a small bowl mix the 1 tsp of baking powder and 1 tbsp of water and set aside.
- In a medium bowl, beat the butter and brown sugar together for 3 minutes until they are creamed together.
- Add the baking powder and water mixture, applesauce and maple syrup and beat on medium for 4 more minutes.
- Next add in your Vanilla Cake Mix, brown rice flour and tapioca flour and continue to beat until the mix comes together into a tight ball. The dough will be alike a typical cookie dough.
- Stir in your desired chocolate chips.
- Press the batter into the parchment lined pan and spread evenly with the back of a spatula. (note: the batter will be thick)
- If your dough seems crumbly, just add a little more applesauce.
- Bake for 18-22 minutes until the edges are light brown.
- Remove from the oven and allow the cookie to cool in the pan on a wire rack.
- If you are frosting move onto the next steps and be sure to frost once it’s completely cooled.
The next step is to prepare the frosting. Repeat this step if you’re making both vanilla and chocolate frosting.
Frosting Instructions:
- In a stand mixer or a large bowl with a hand mixer, place 3/4 cup butter of your choice (or a butter and shortening mix if you prefer) and mix on high for 5 minutes or until light and fluffy.
- Add your choice of frosting mix and add about half of the bag to start. Start slow, mix for 1 minute, then mix on high for another 4 minutes.
- Add 2 tablespoons of your safe milk and the remainder of the frosting mix. Beat until the frosting is light and fluffy, adding more safe milk as needed to reach your desired consistency.
- If you would like to color your frosting separate into small bowls and add food dye starting with a small amount at a time. Stir and add more food dye until your desired color is achieved.
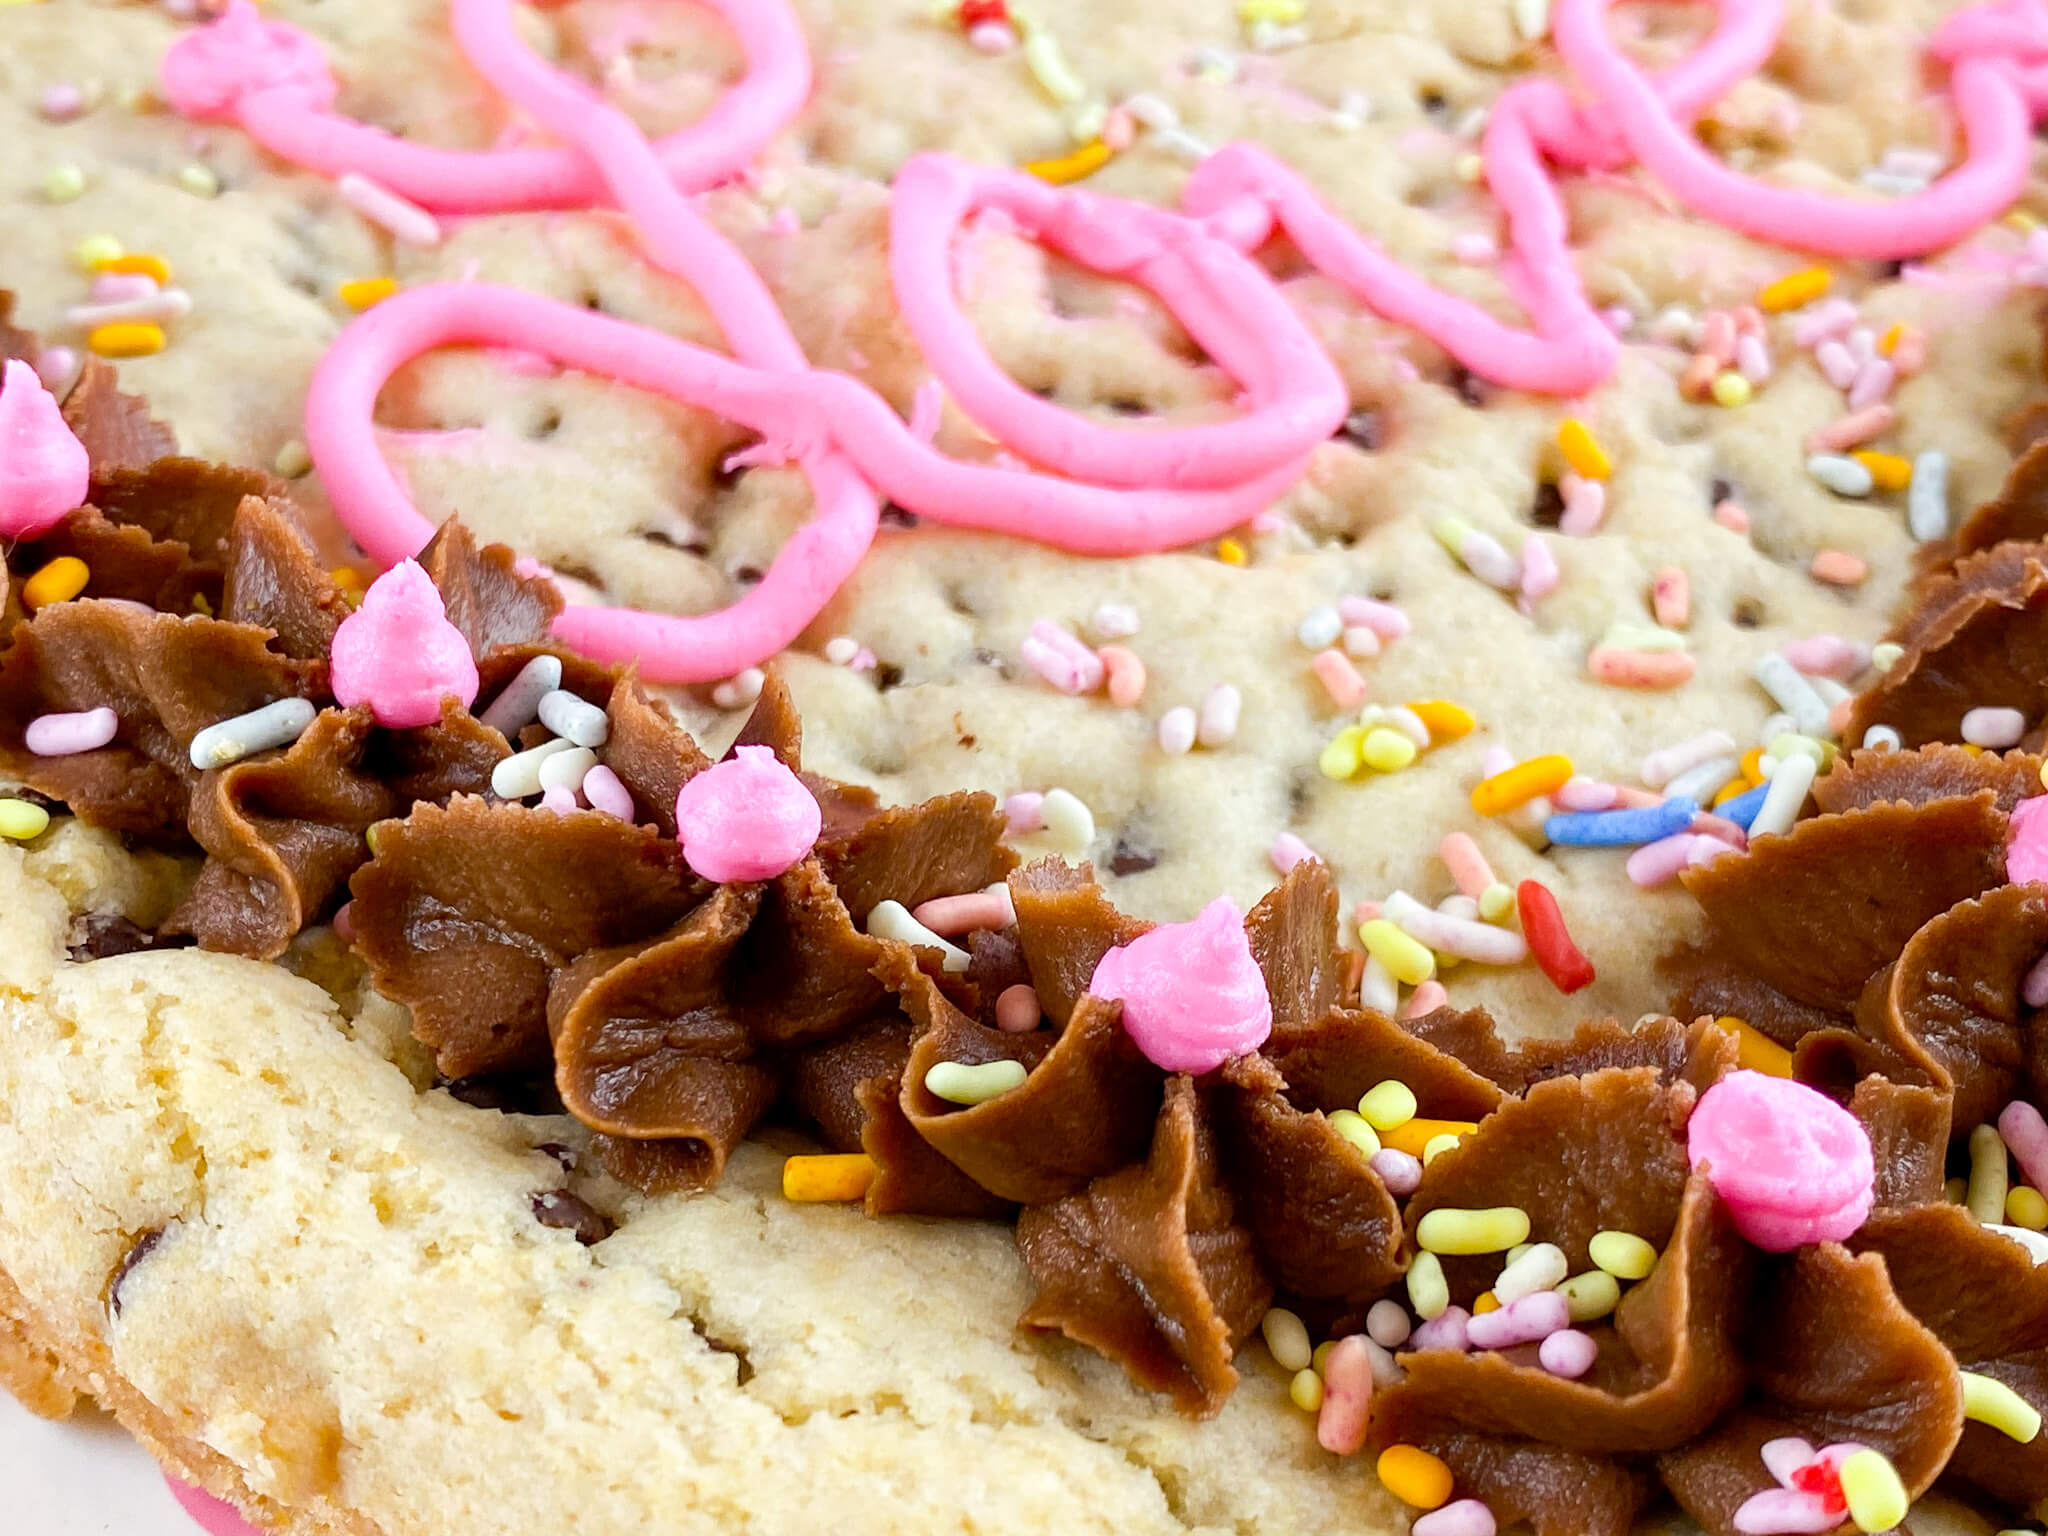
- Using a piping bag and piping tip of your choice fill the piping bag up with the frosting. We used a closed star piping tip for the chocolate frosting edge on our cake and a small round tip for the pink dots and to write the word Love.
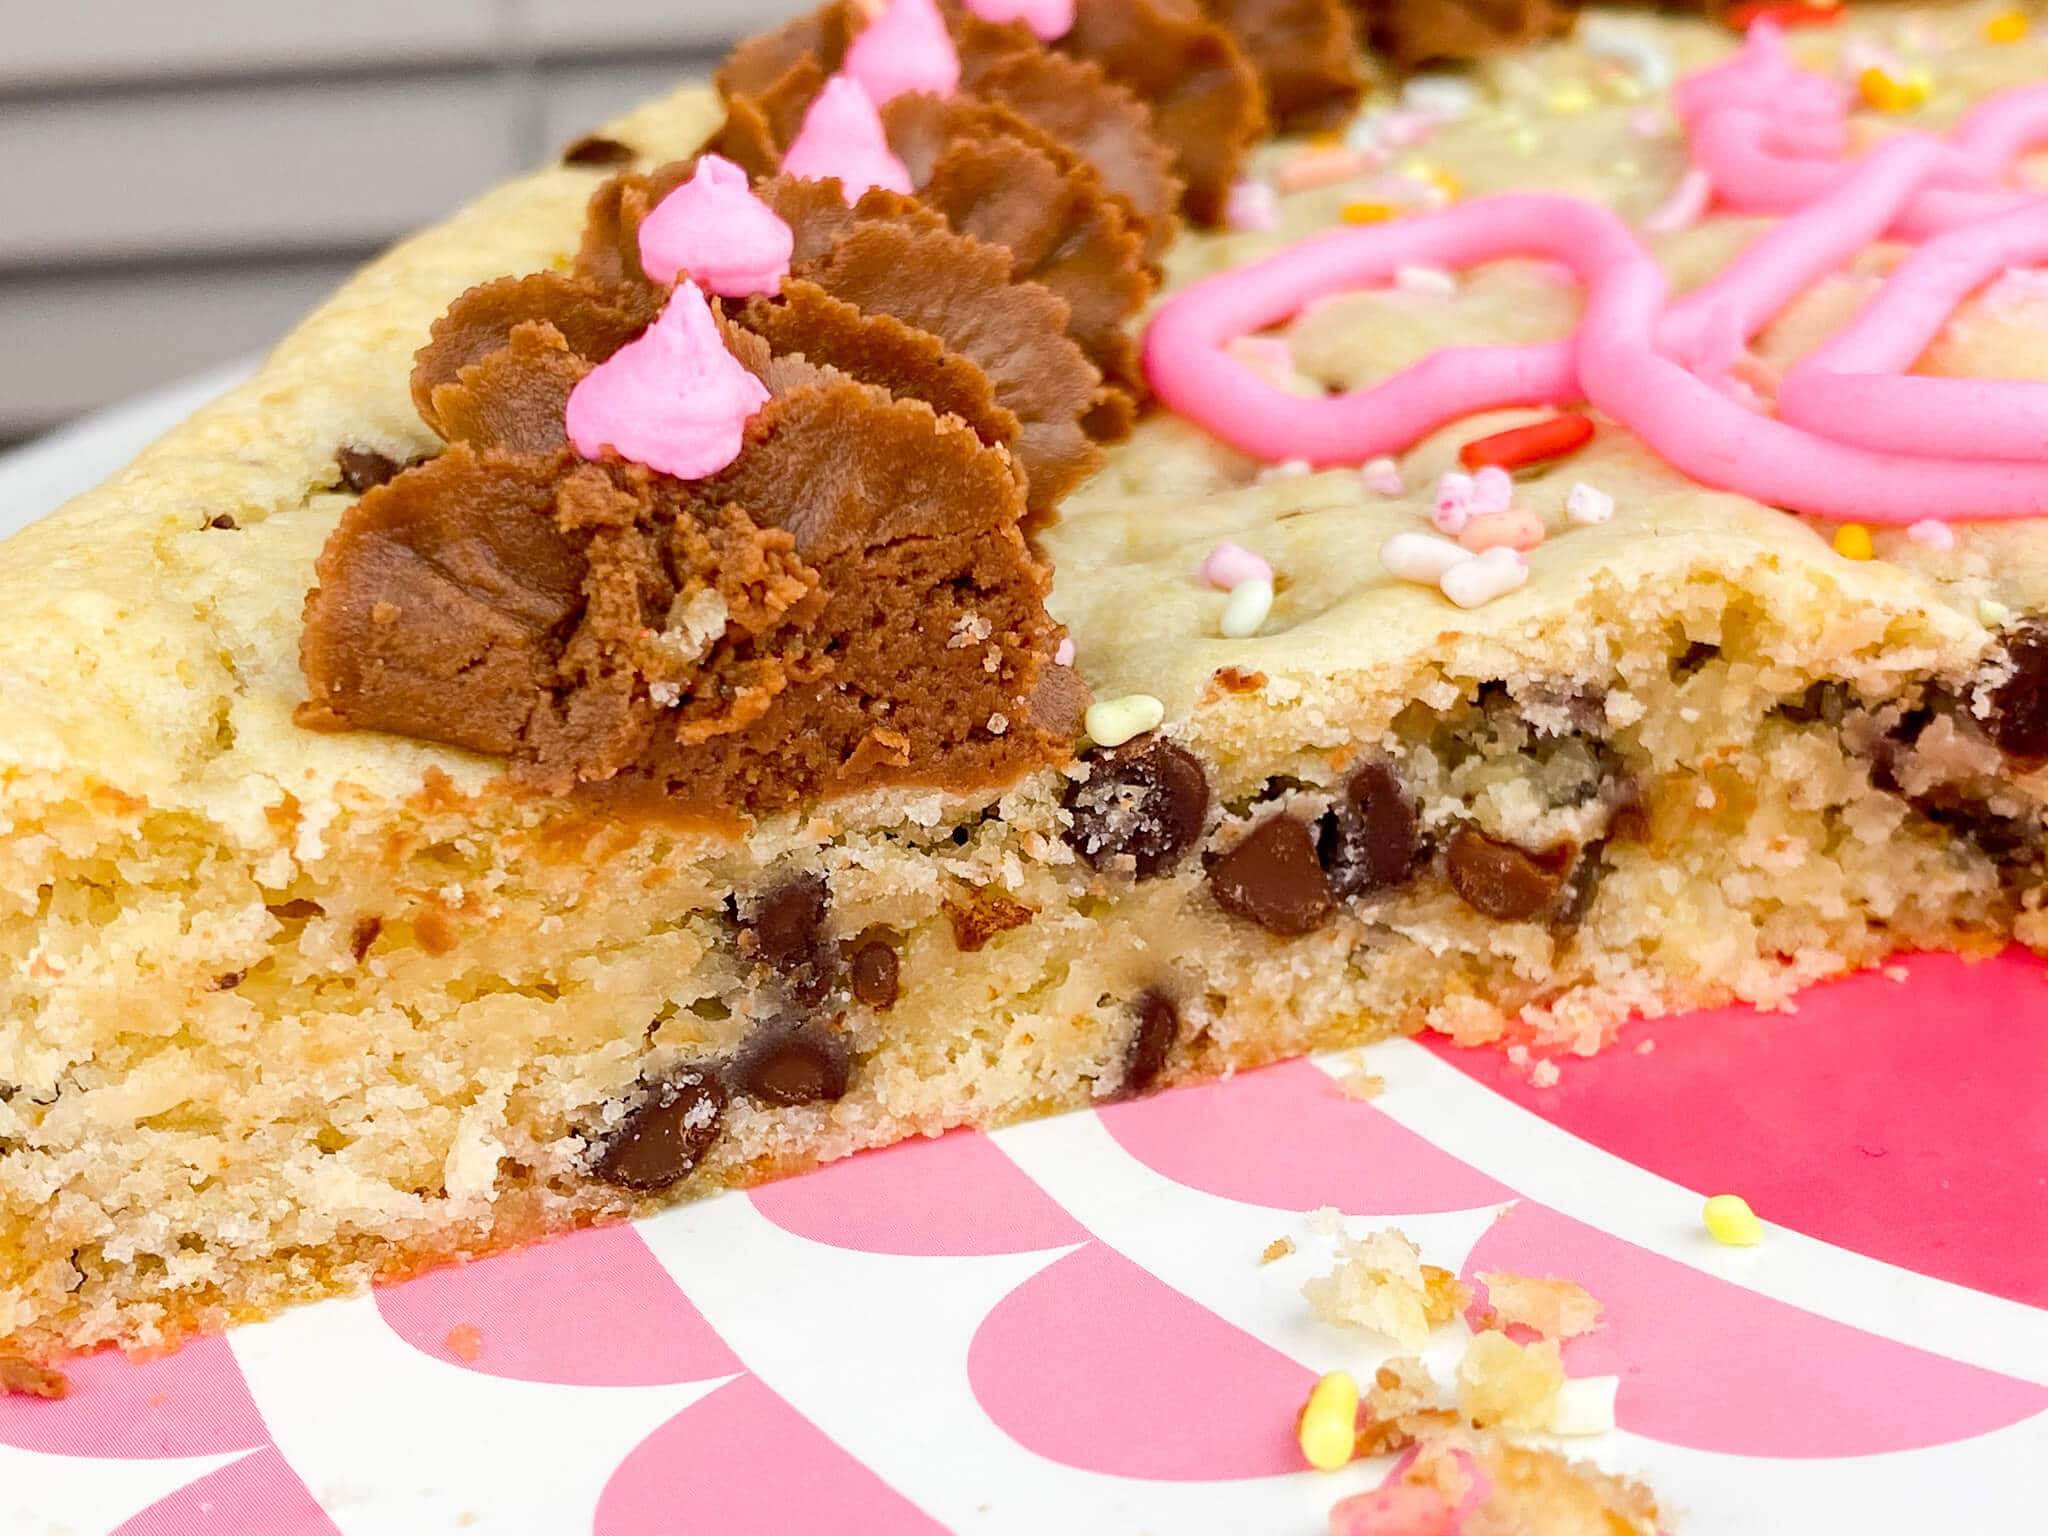
This cookie cake is a little crunchy on the outside and soft on the inside – just the way we like our chocolate chip cookies.
You can do any pattern you’d like for the frosting. We are planning to make a spring-themed cookie cake next month with pastel flowers along the border. You can also write Happy Birthday on the cookie cake or whatever message you’d like to.
This cookie cake takes the cake when topped with the frosting and sprinkles. So easy to make using our cake mix as a base. And as always, delicious to eat!

This is also delicious served with your safe ice cream if desired.
You can store leftovers at room temperature for about 3-4 days. Wrap in plastic wrap to keep from drying out.
Don’t you just love this!?! (no pun intended!). My kids and I agreed that a delicious giant cookie pizza was the perfect way to celebrate a special occasion from Valentine’s Day to their favorite stuffies birthday!