
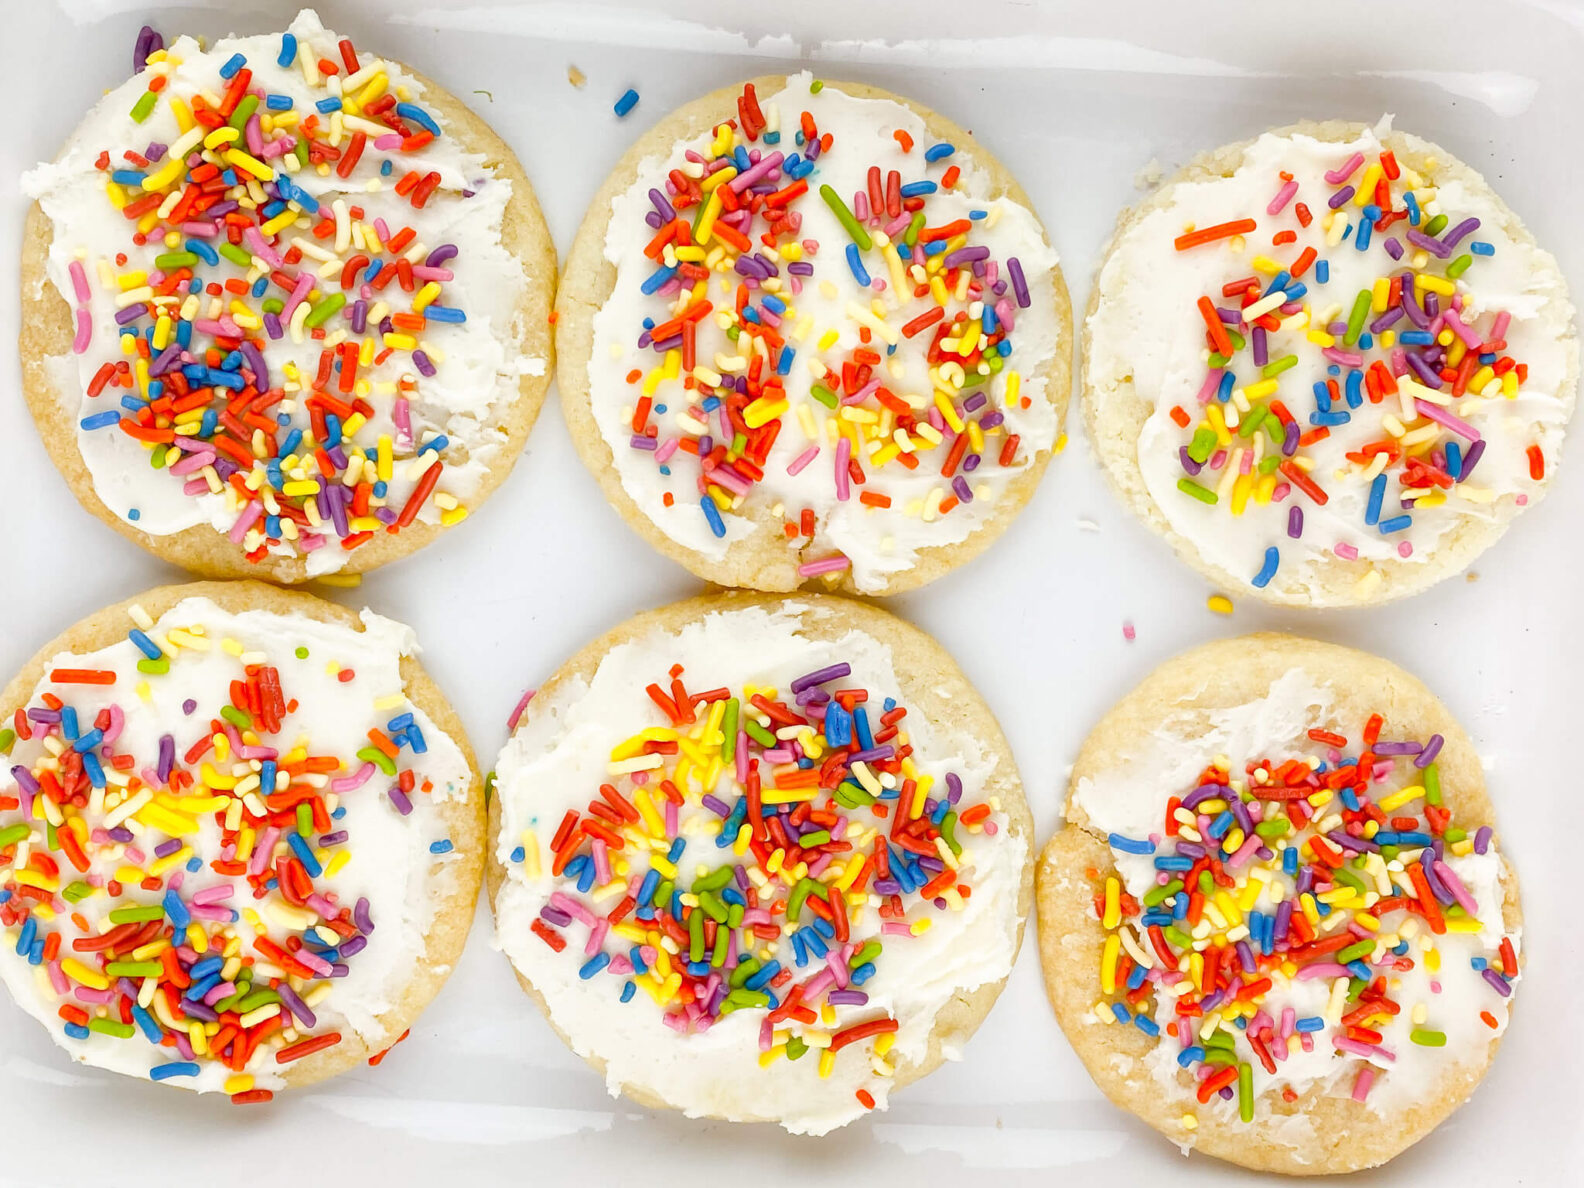
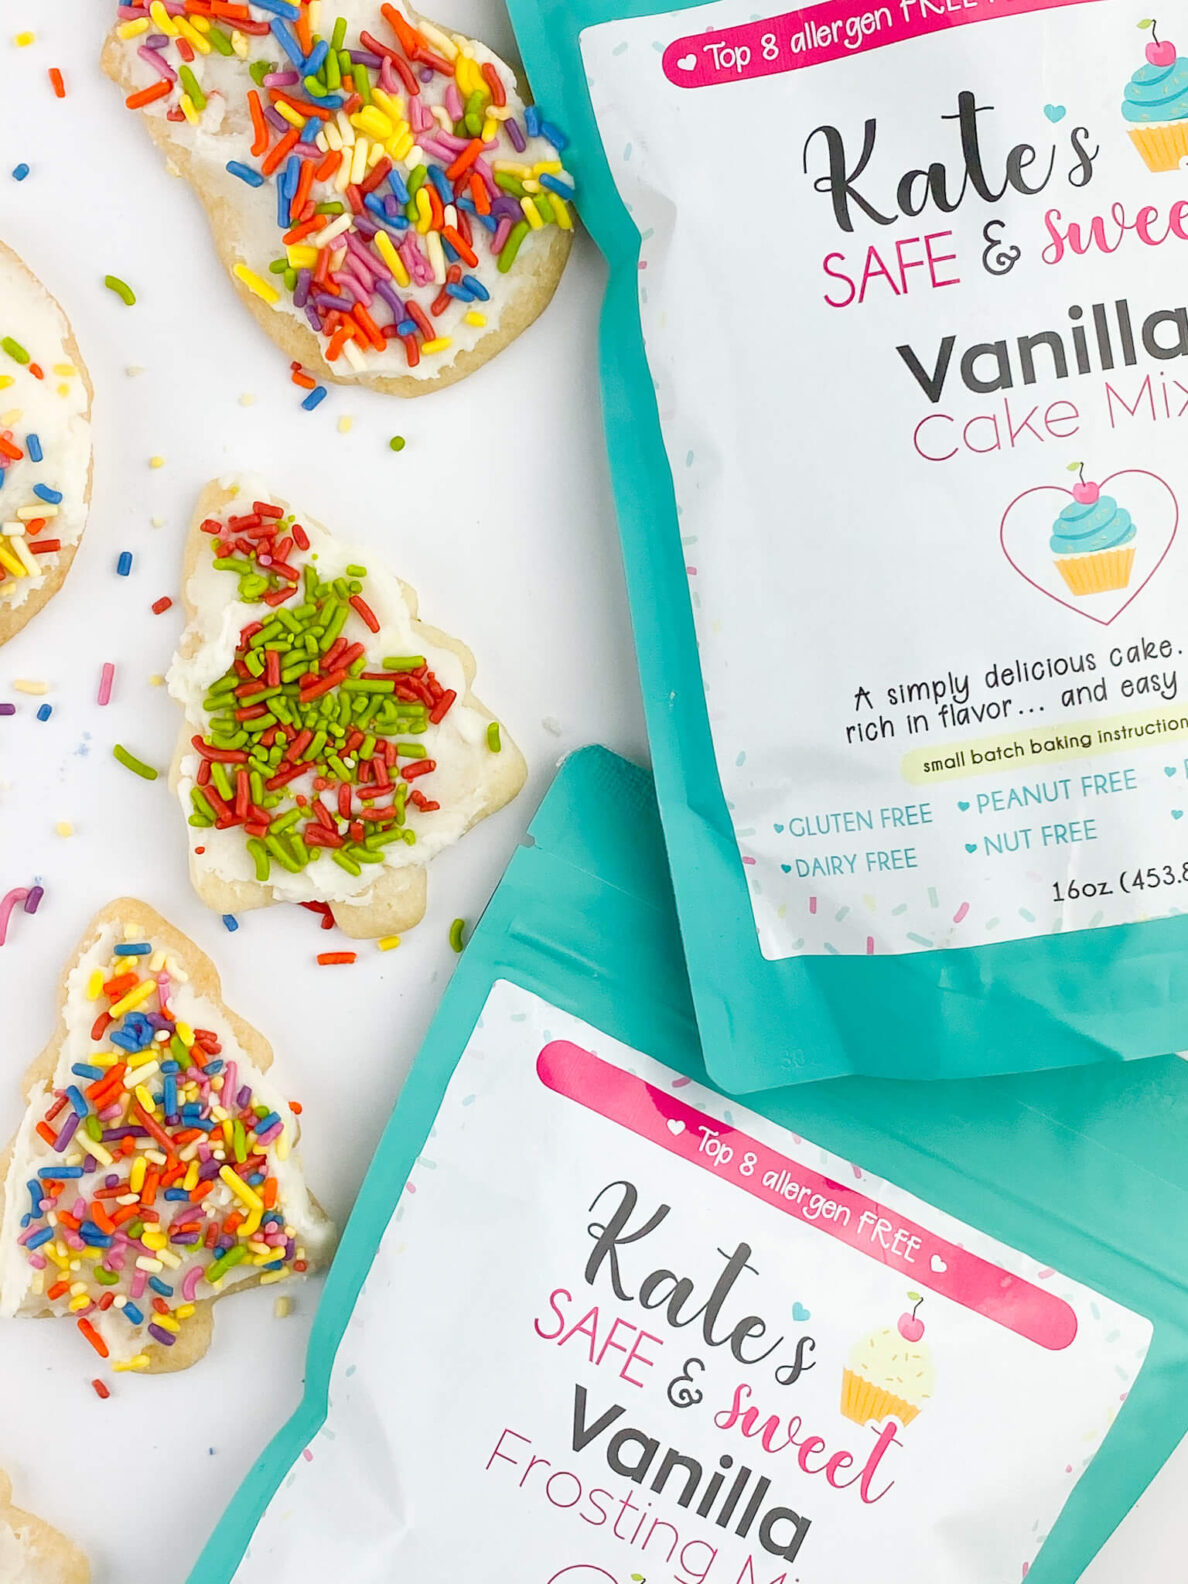
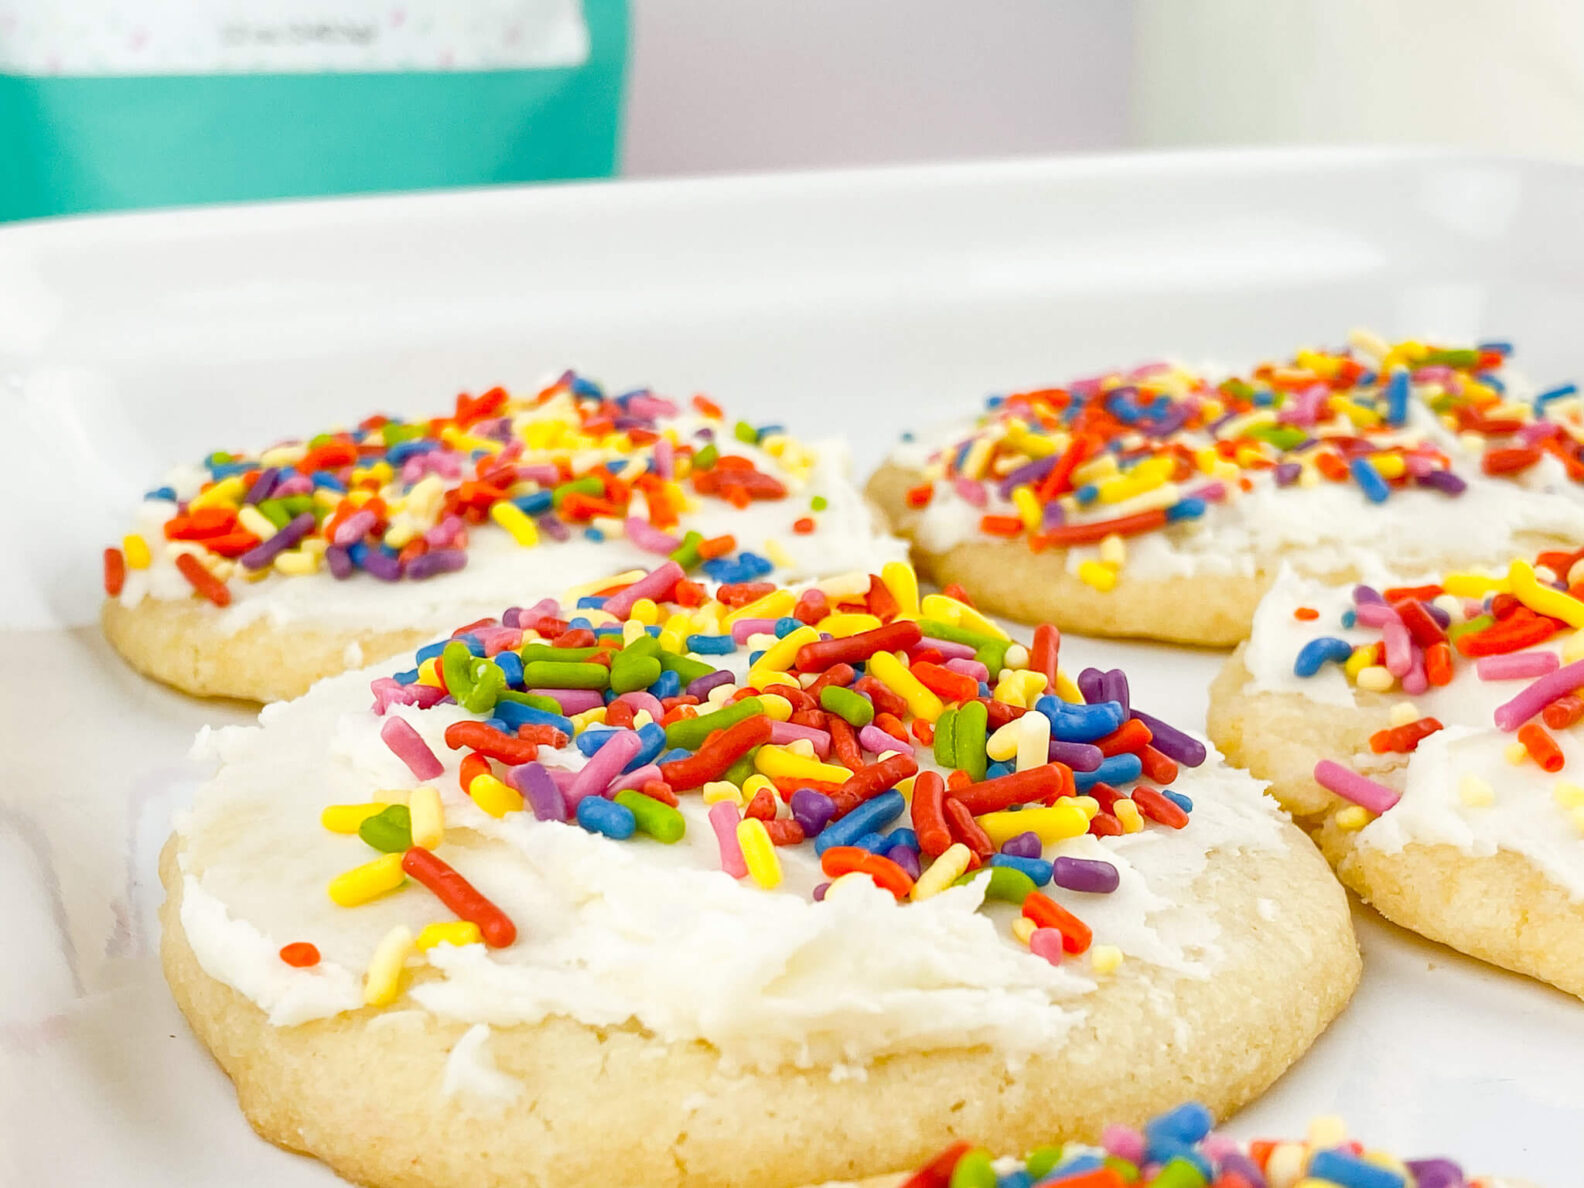
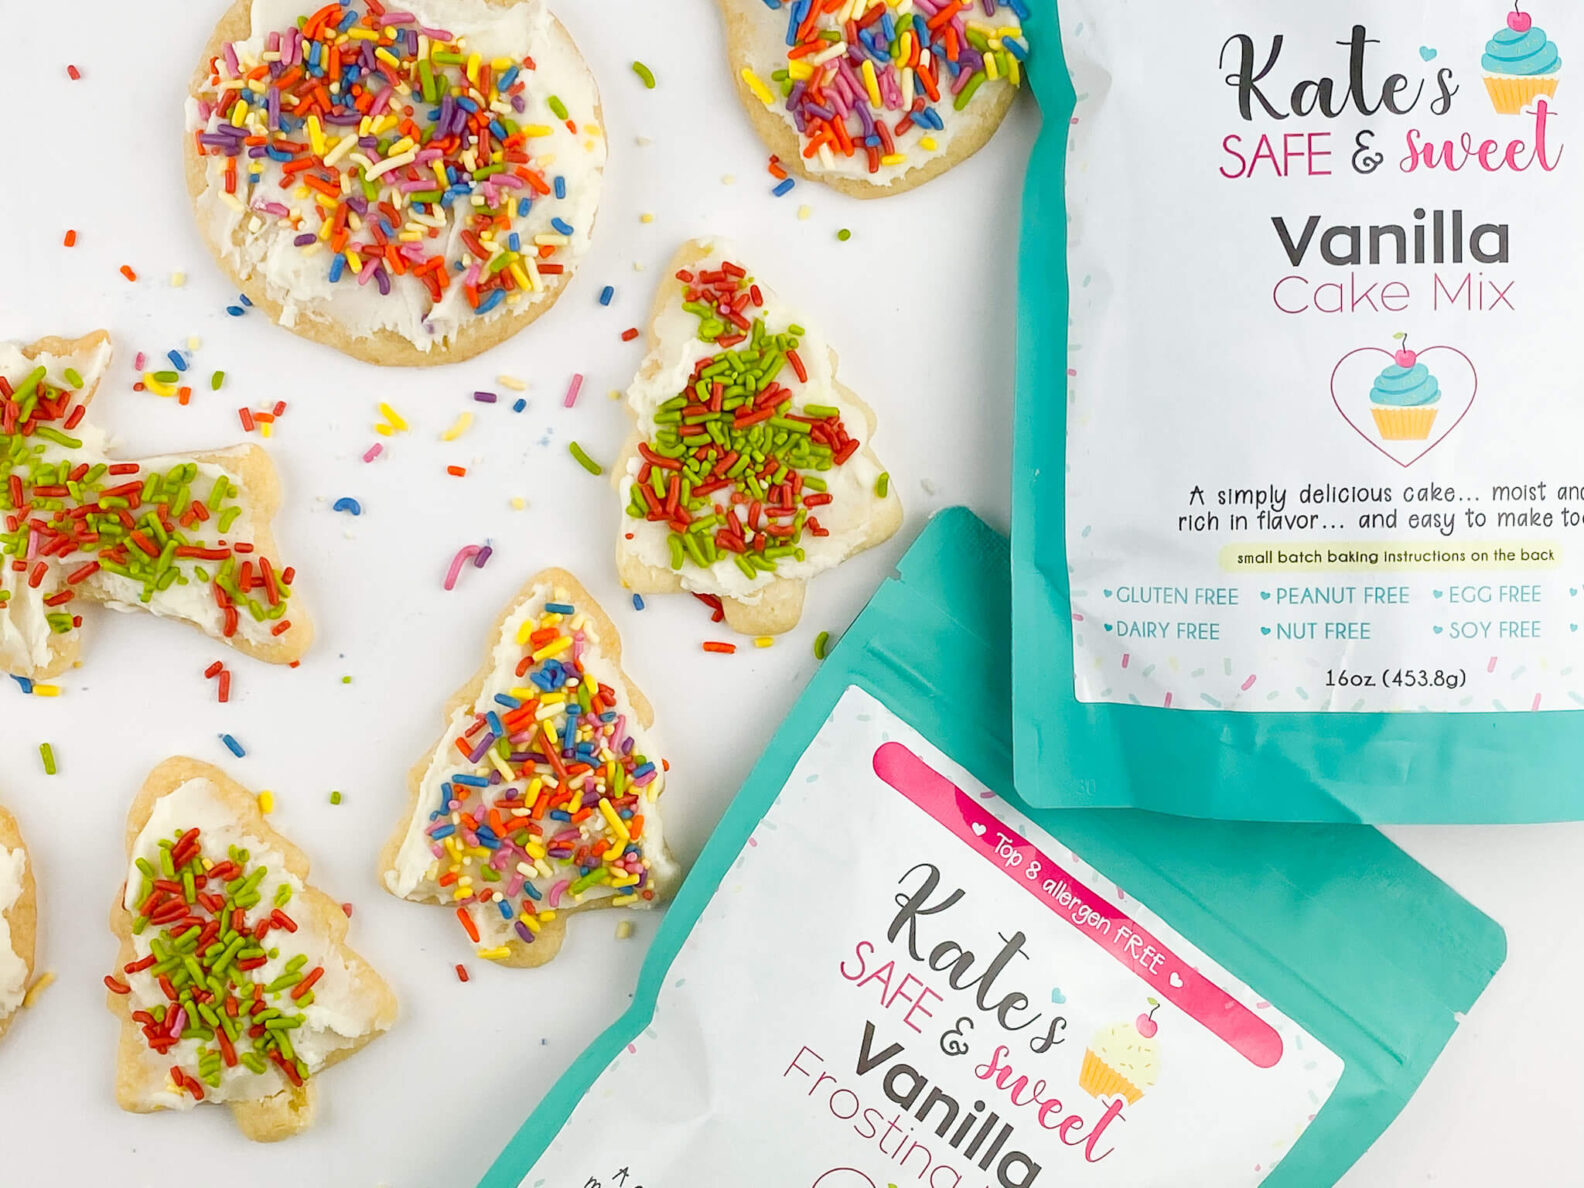
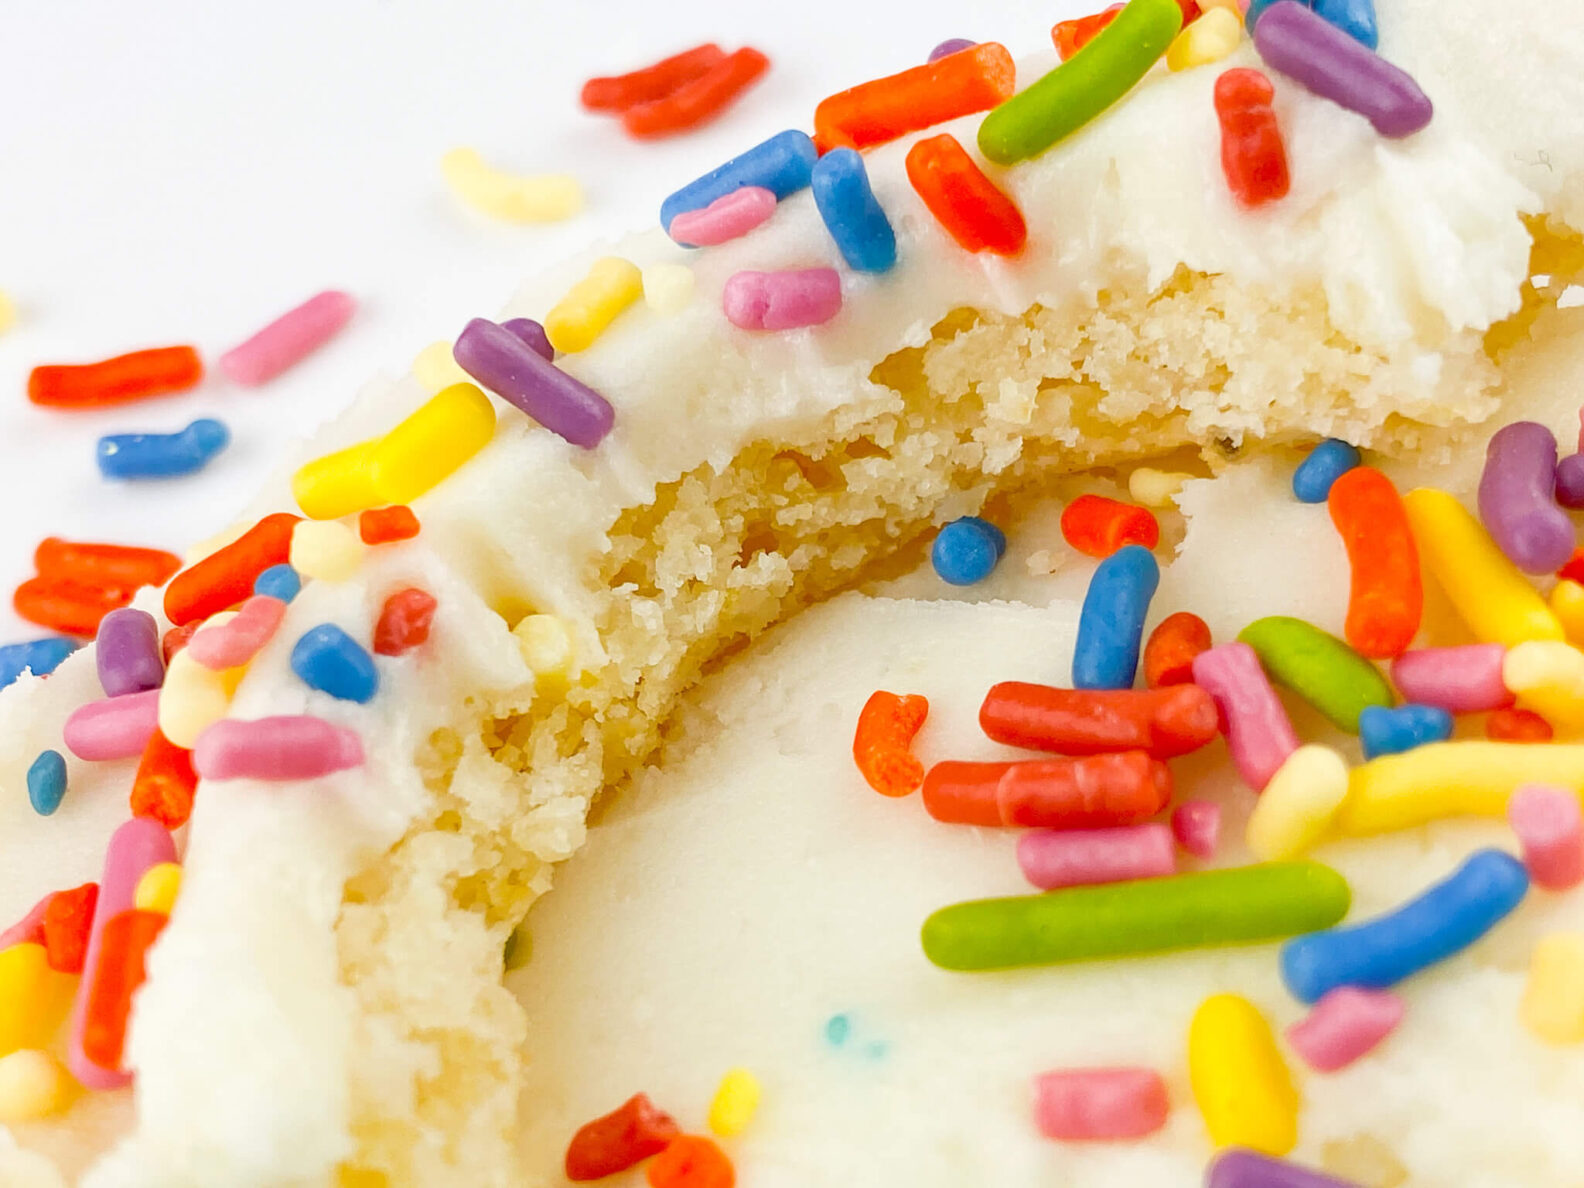
Sugar cookies with frosting and sprinkles are something we see in the grocery store a lot these days near the baking section… and cookies that we cannot eat due to our allergies, but ones we can now easily make at home using our Vanilla Cake Mix as the base (yup, our cake mixes can be used to make cookies!).

We have a few recipes for sugar cookies:
This recipe is top 14 allergen free, gluten free and vegan.
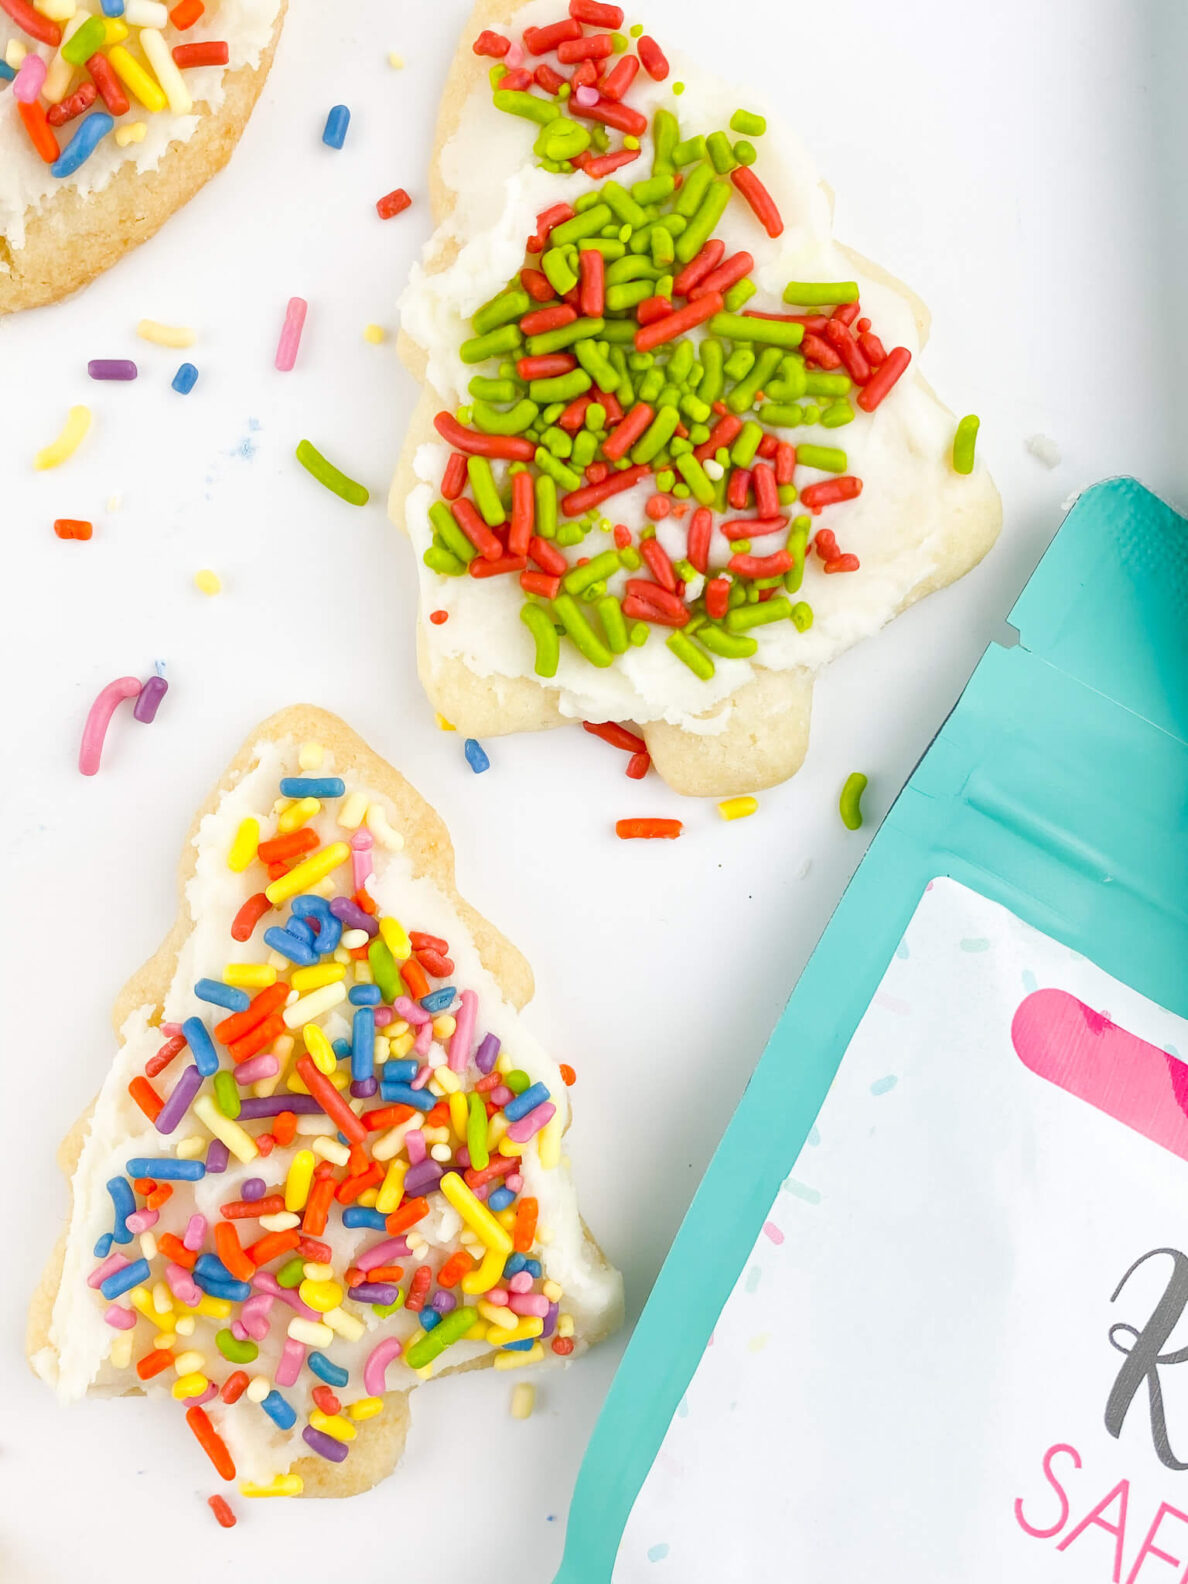
For the sprinkles we recommend checking the label on store bought ones. You can shop our sprinkle selection here.
Using our vanilla cake mix for these makes it a little faster to prepare the dough, but you’re still going to want to chill it for an hour or more.
The first step to making these is to gather all your ingredients and supplies.
Frosted Sugar Cookies
Makes up to 24 x 3 inch sized cookies
Cookie Tools Needed:
- Mixing bowl(s)
- Spatula
- Measuring spoons
- Measuring cups
- Hand or stand mixer
- Rolling pin
- Round Cookie cutters
- Cookie tray(s)
- Parchment paper
Cookie Ingredients Needed:
- 1 Kate’s Safe and Sweet Vanilla Cake Mix
- 3 tbsp Tapioca Flour
- 1 teaspoon Cream of Tarter
- 1/3 cup your Safe Butter
- 1/3 cup Shortening
- 2 teaspoons baking powder
- 2 tablespoons your safe milk
- Up to 4 additional tablespoons your safe milk
*We have been asked if you can use only your safe vegan butter for these. These cookies work much better with the butter and shortening mix and will spread a bit more if you use only the vegan butter. If you don’t need to be dairy free you can use all regular butter as a replacement. If you do use full vegan butter for these they will spread a bit more.
(above ingredients are for making a full bag of mix, making approx 24 cookies depending on how think and large you make them)
Cookie Instructions:
- In a small bowl mix the 2 tablespoons of milk and baking powder together. Set aside.
- In a large bowl with a hand mixer, or your stand mixer, beat the butter and shortening for about 2-3 minutes until it’s creamed together.
- Add cake mix, tapioca flour, cream of tarter, milk and baking powder mixture and 2 tablespoons safe milk to bowl.
- Continue to beat about 4-5 minutes and until it starts to form a ball. Add up to 2 additional tablespoons of your milk. (I used a total of 3 tablespoons). (Note: It may look crumbly when you start. Just keep beating. It will get there.)
- Divide dough into two parts. Wrap each in a ball in parchment paper. Place in fridge for an hour to chill. Can keep in fridge up to about 5 days as well.
After dough has been chilled proceed to next steps:
- Preheat your oven to 350F.
- Line your cookie tray(s) with parchment paper.
- To form the cookies roll one part of the dough and roll with a rolling pin between two pieces of parchment paper 1/4″ think . Using around cookie cutter or biscuit cutter, cut cookies and place 2″ apart on the prepared cookie sheet. Re-roll excess as needed. You should place the dough into the fridge if it gets to warm/soft and hard to roll. Just pull back out in 15-30 minutes and roll.
- you can also use shaped cookies cutters but these will spread a little.
- Keep these thicker cookies plain to frost later.
- Bake 10-12 minutes.
- Remove baking trays from the oven when you see the edges getting lightly brown and allow to cool on tray for 10 minutes or so. Then cool on wire rack.
- As the cookies are cooling we recommend preparing the frosting as per below and spread in with a spatula or pipe on.
- Top frosting with sprinkles!
Note: be sure to place cookies of the same thickness on the same tray so they will bake evenly.
Frosting Ingredients Needed:
- 1 Kate’s Safe and Sweet Vanilla Frosting Mix or Confetti Frosting Mix
- 3/4 cup of Butter/ Shortening of your choice
- up to 4 teaspoons of Rice milk (or safe milk of your choice
- Sprinkles (optional)
- Food Coloring (optional)
Frosting Tools Needed:
- Mixing bowl(s)
- Spatula
- Measuring spoon
- Measuring cup
- Hand mixer or stand mixer
Frosting Instructions:
- Combine butter/ shortening in a large bowl and beat until well combined.
- Add about half of the frosting mix and mix until well combined.
- Add 2 teaspoons of the milk and continue to mix until well combined and smooth.
- Add up to 2 additional teaspoons of the milk as needed.
If you would like to color your frosting you can do so!
Spread frosting on cooled cookies with an offset spatula, regular spatula, or pipe on. Top frosting with sprinkles!
Add as little or as much frosting as you’d like.
Rolling these between parchment paper makes it much easier and requiring no flour for your surface. If you’d like to roll out on your surface then use your safe flour to do so to assure the dough does not stick to your counter. We also bake these on parchment paper as well.
Tip: You will need 2-3 cookie trays for making a full batch of these cookies. You can use one of course it will just take longer and you’ll want to allow the tray to cool prior to reusing.
These are best served within 5 to 7 days when stored in the fridge and up to 6 months when stored in the freezer. Due to the buttercream frosting, you want to keep them chilled. If no frosting is used, these cookies will keep for one week on the countertop.
Making these cookies with our Vanilla Cake Mix was so easy to do and we were so excited to bring a family favorite cookie into our home this holiday with the use of our baking mixes. These are so good and one can tell these are not made with gluten, wheat, eggs, or dairy!

We hope you enjoy these delicious frosted cookies made using our cake mix so that all can eat cookies!
Check out our entire selection of recipes here.
