Cakes and Cupcakes, Recipes
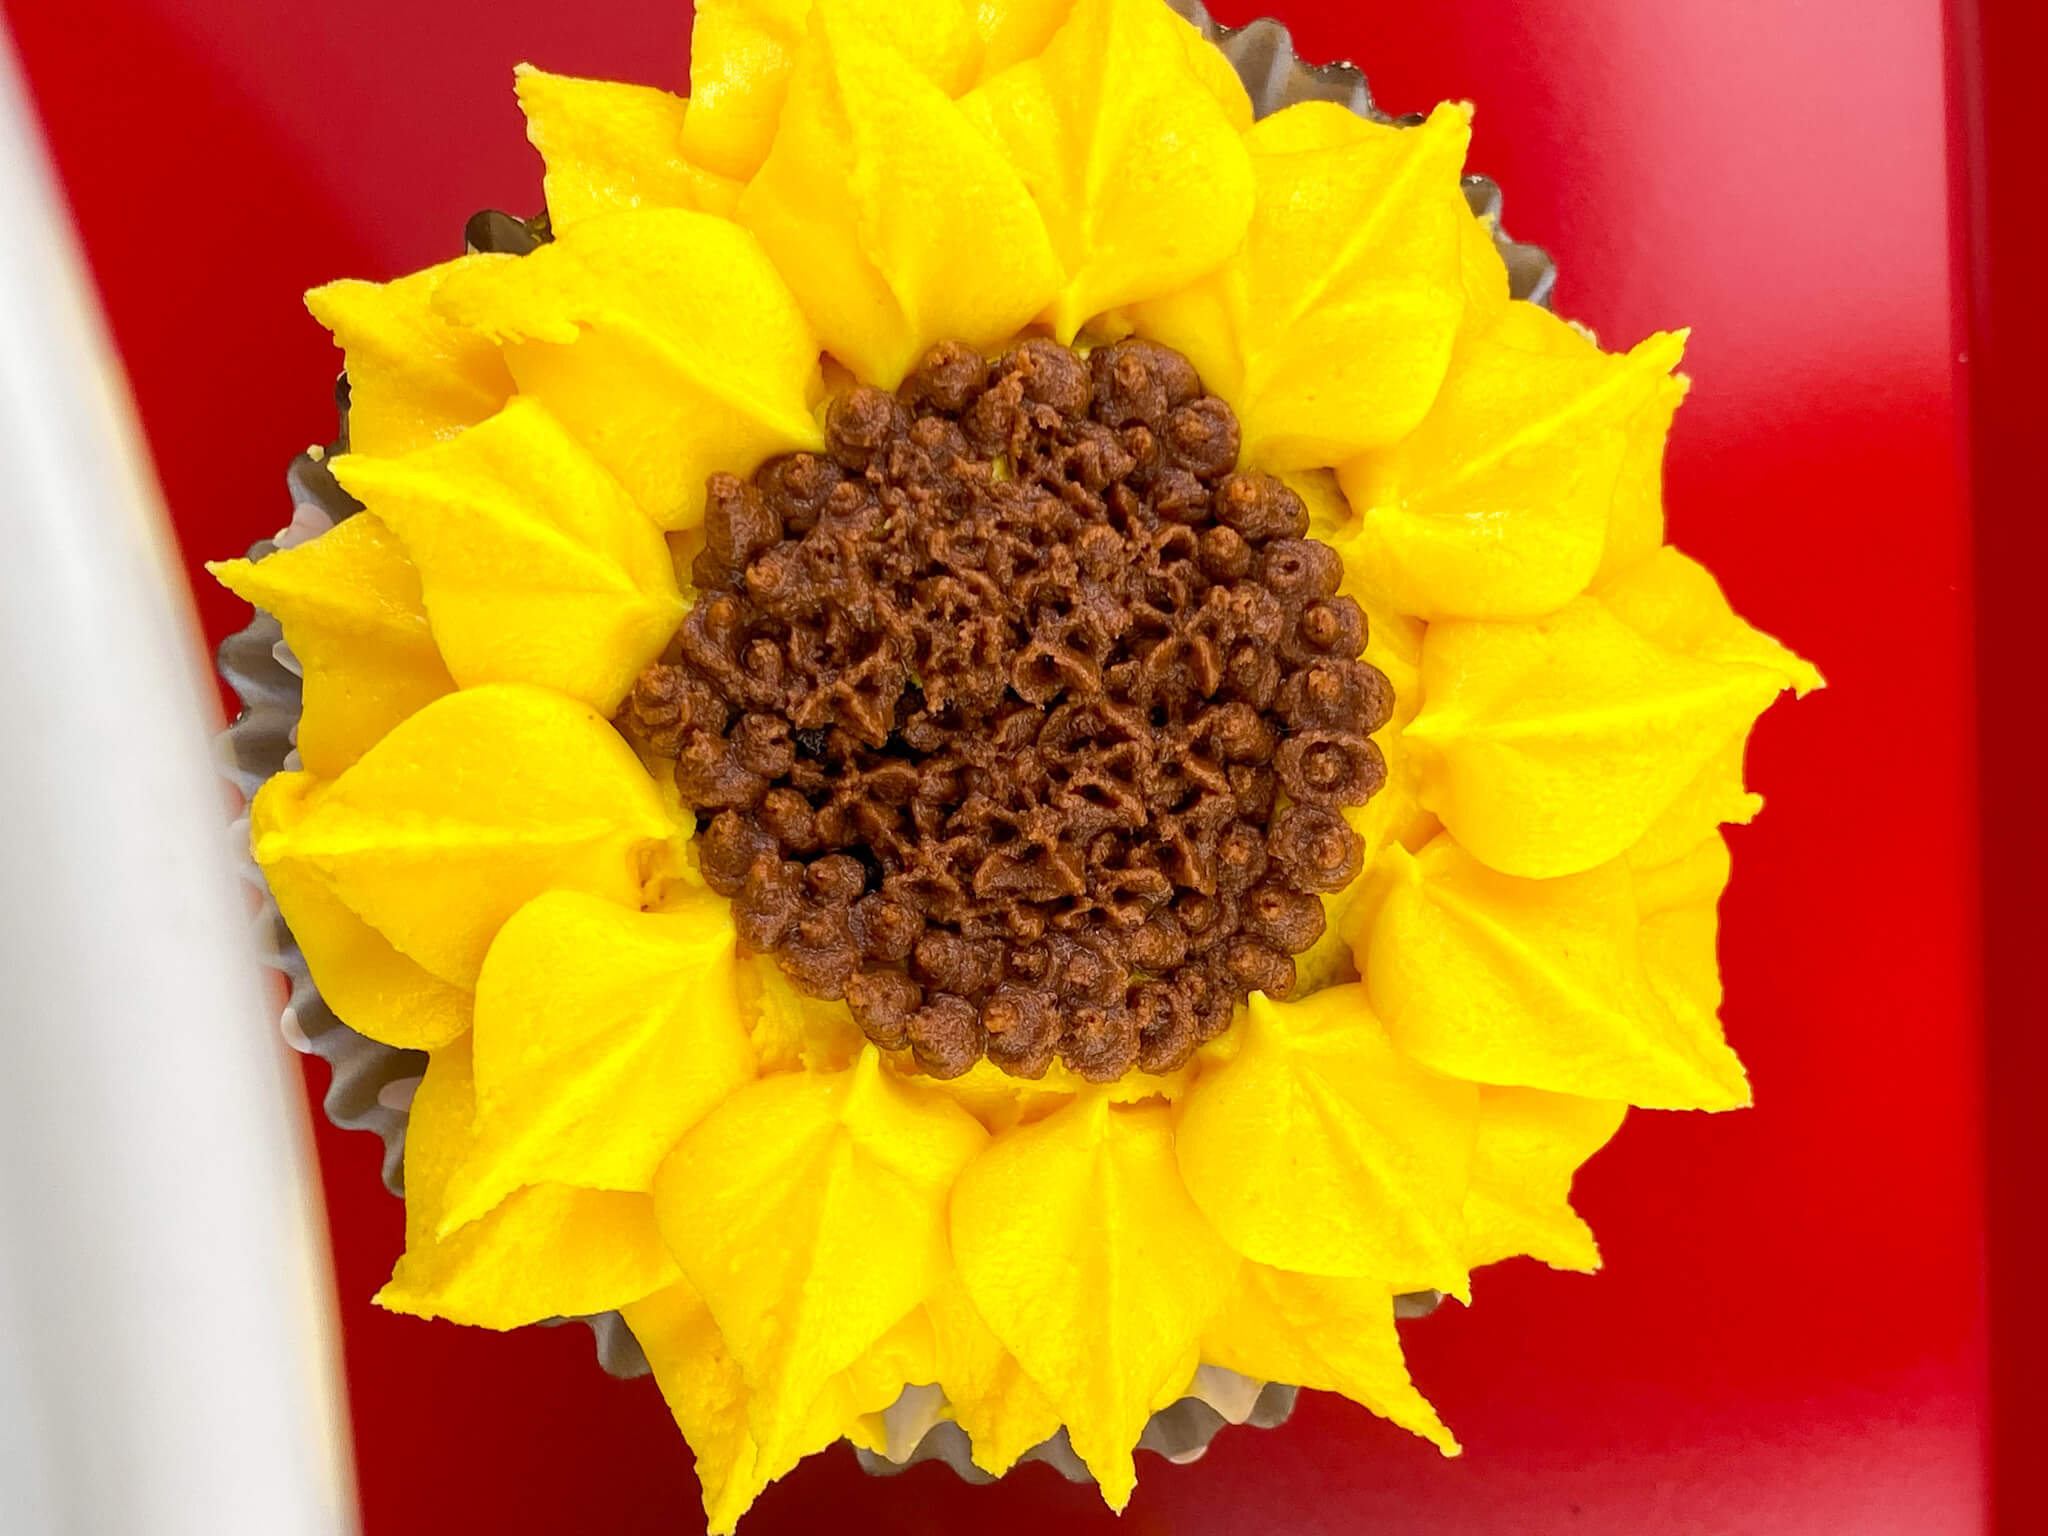
Sunflower Cupcakes

This past summer my son and I planted sunflowers from seeds and planted them in our front yard. The sunflowers grew to be about 10-12 feet tall and neighbors and passerby folks would stop and admire them. This made both my son and I become a little more fascinated by sunflowers and we decided to decorate some cupcakes that way! He thought they were really cool looking and enjoyed eating them of course. Below I’ll walk you through how to make your own sunflower cupcakes too.
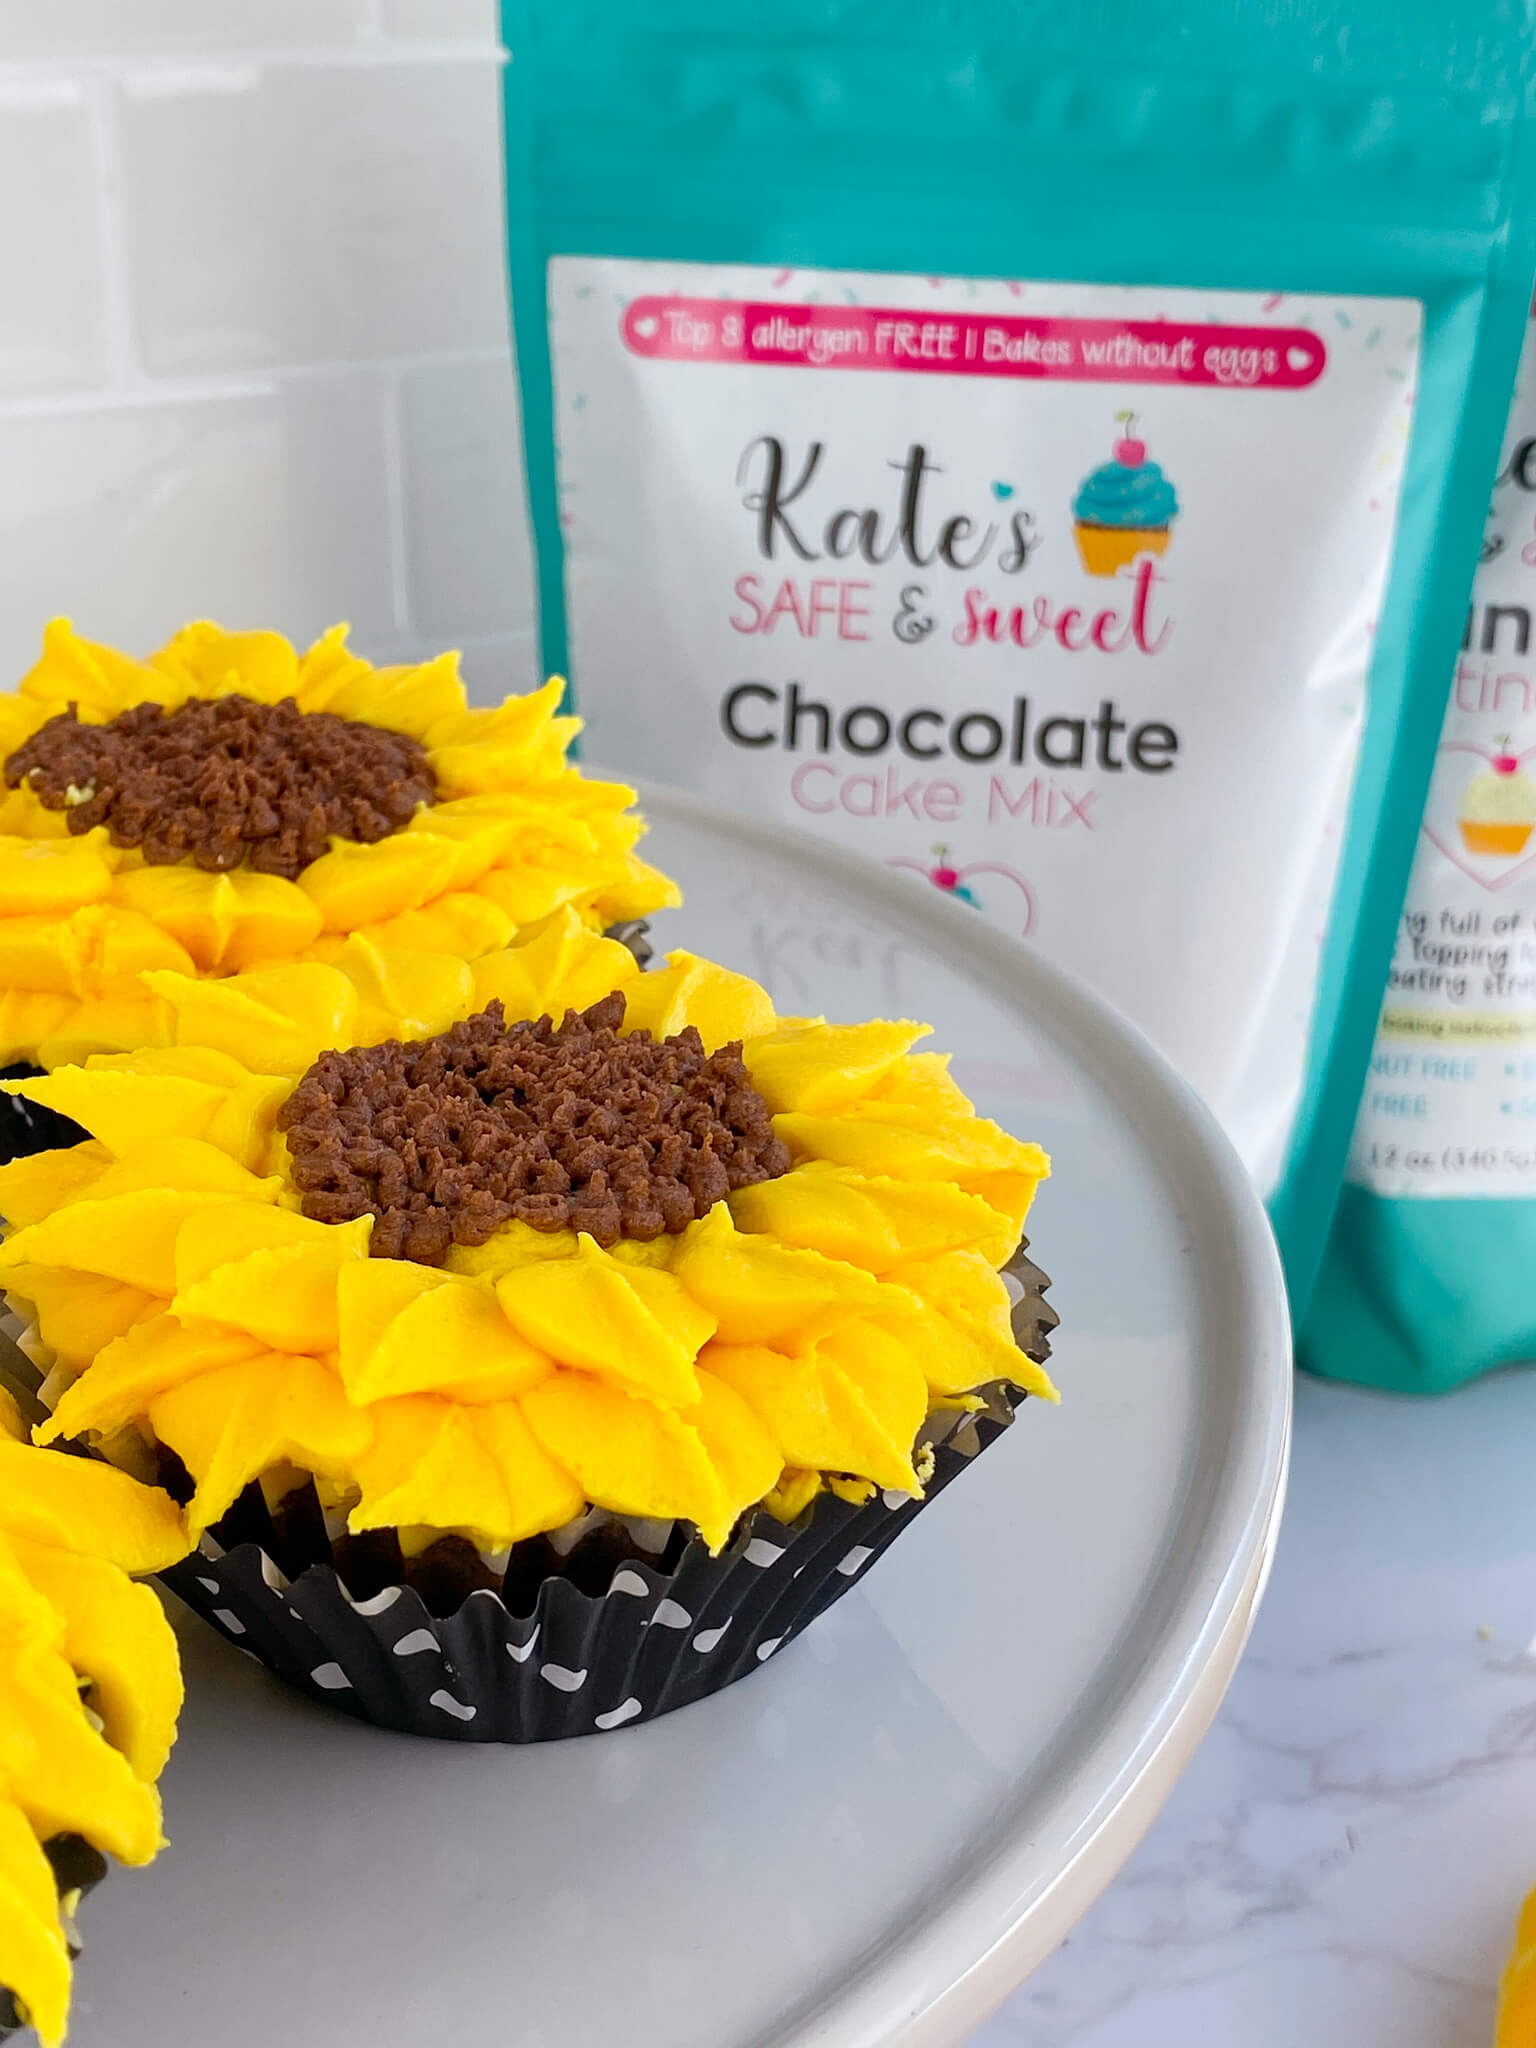
For our batch of sunflower cupcakes we made chocolate cupcakes using Kate’s Safe & Sweet Chocolate Cake Mix and for the frosting we made both vanilla and chocolate flavors, using Kate’s Safe & Sweet Vanilla Frosting Mix and Kate’s Safe & Sweet Chocolate Frosting Mix. If you don’t want to make both kids of frosting you can just make vanilla since you will be coloring it and can color some of the frosting yellow and some black, but we aren’t big fans of black food coloring in our home so we used chocolate for those parts of the decorating.
How to Make Sunflower Cupcakes
The first step is to gather all your tools and ingredients. You will need:
Tools Needed:
- Mixing Bowls
- Hand Mixer / Stand Mixer
- Spatulas
- Mixing Spoons
- Measuring Cups / Spoons
- Muffin Tin
- Cupcake Liners
- Frosting Bag
- Frosting Tips
Cake Ingredients Needed:
- 1 x Kate’s Safe and Sweet Chocolate Cake Mix
- 1 cup Milk of choice
- 1 teaspoon Apple Cider Vinegar
- 5 tablespoon Neutral Oil
Vanilla Frosting Ingredients Needed:
- 1 x Kate’s Safe and Sweet Frosting Mix
- 1/2 cup Butter of choice
- 1/4 cup Vegetable Shortening
- 3-4 teaspoons of Milk of choice
- Yellow Food Coloring
Chocolate Frosting Ingredients Needed:
- 1 x Kate’s Safe and Sweet Frosting Mix
- 1/2 cup Butter of choice
- 1/4 cup Vegetable Shortening
- 3-4 teaspoons of Milk of choice
Cupcake Instructions
1. Begin by preheating the oven to 350F. Line a cupcake tray with liners or spray with oil. Set aside.
2. In a small mixing bowl, combine the milk of your choice with the apple cider vinegar.
4. In a large mixing bowl, place the vanilla cake mix. Into this bowl, pour the milk mixture and oil. Mix well until fully incorporated.
5. Spoon batter into prepared cupcake tray, about 2 tablespoons of batter per cupcake.
6. Bake for 18-22 minutes, depending on the darkness of your baking pan. Cupcakes are done with a toothpick inserted into them removes cleanly.
7. Let cupcakes rest for 10 minutes before removing them from the warm baking tray. Let cool completely before frosting.
Frosting Instructions – repeat instructions for both frosting mixes
1. In a large mixing bowl with a hand mixer, or a stand mixer, combine the butter of choice with the shortening. Whip until light and fluffy, about 3 minutes.
2. Add the contents of the vanilla frosting mix. Add 1 tablespoon of milk at a time. Whip again until the frosting is light and fluffy, adding a splash more of milk if needed.
For Vanilla Frosting use yellow food coloring to achieve the yellow color that you desire and
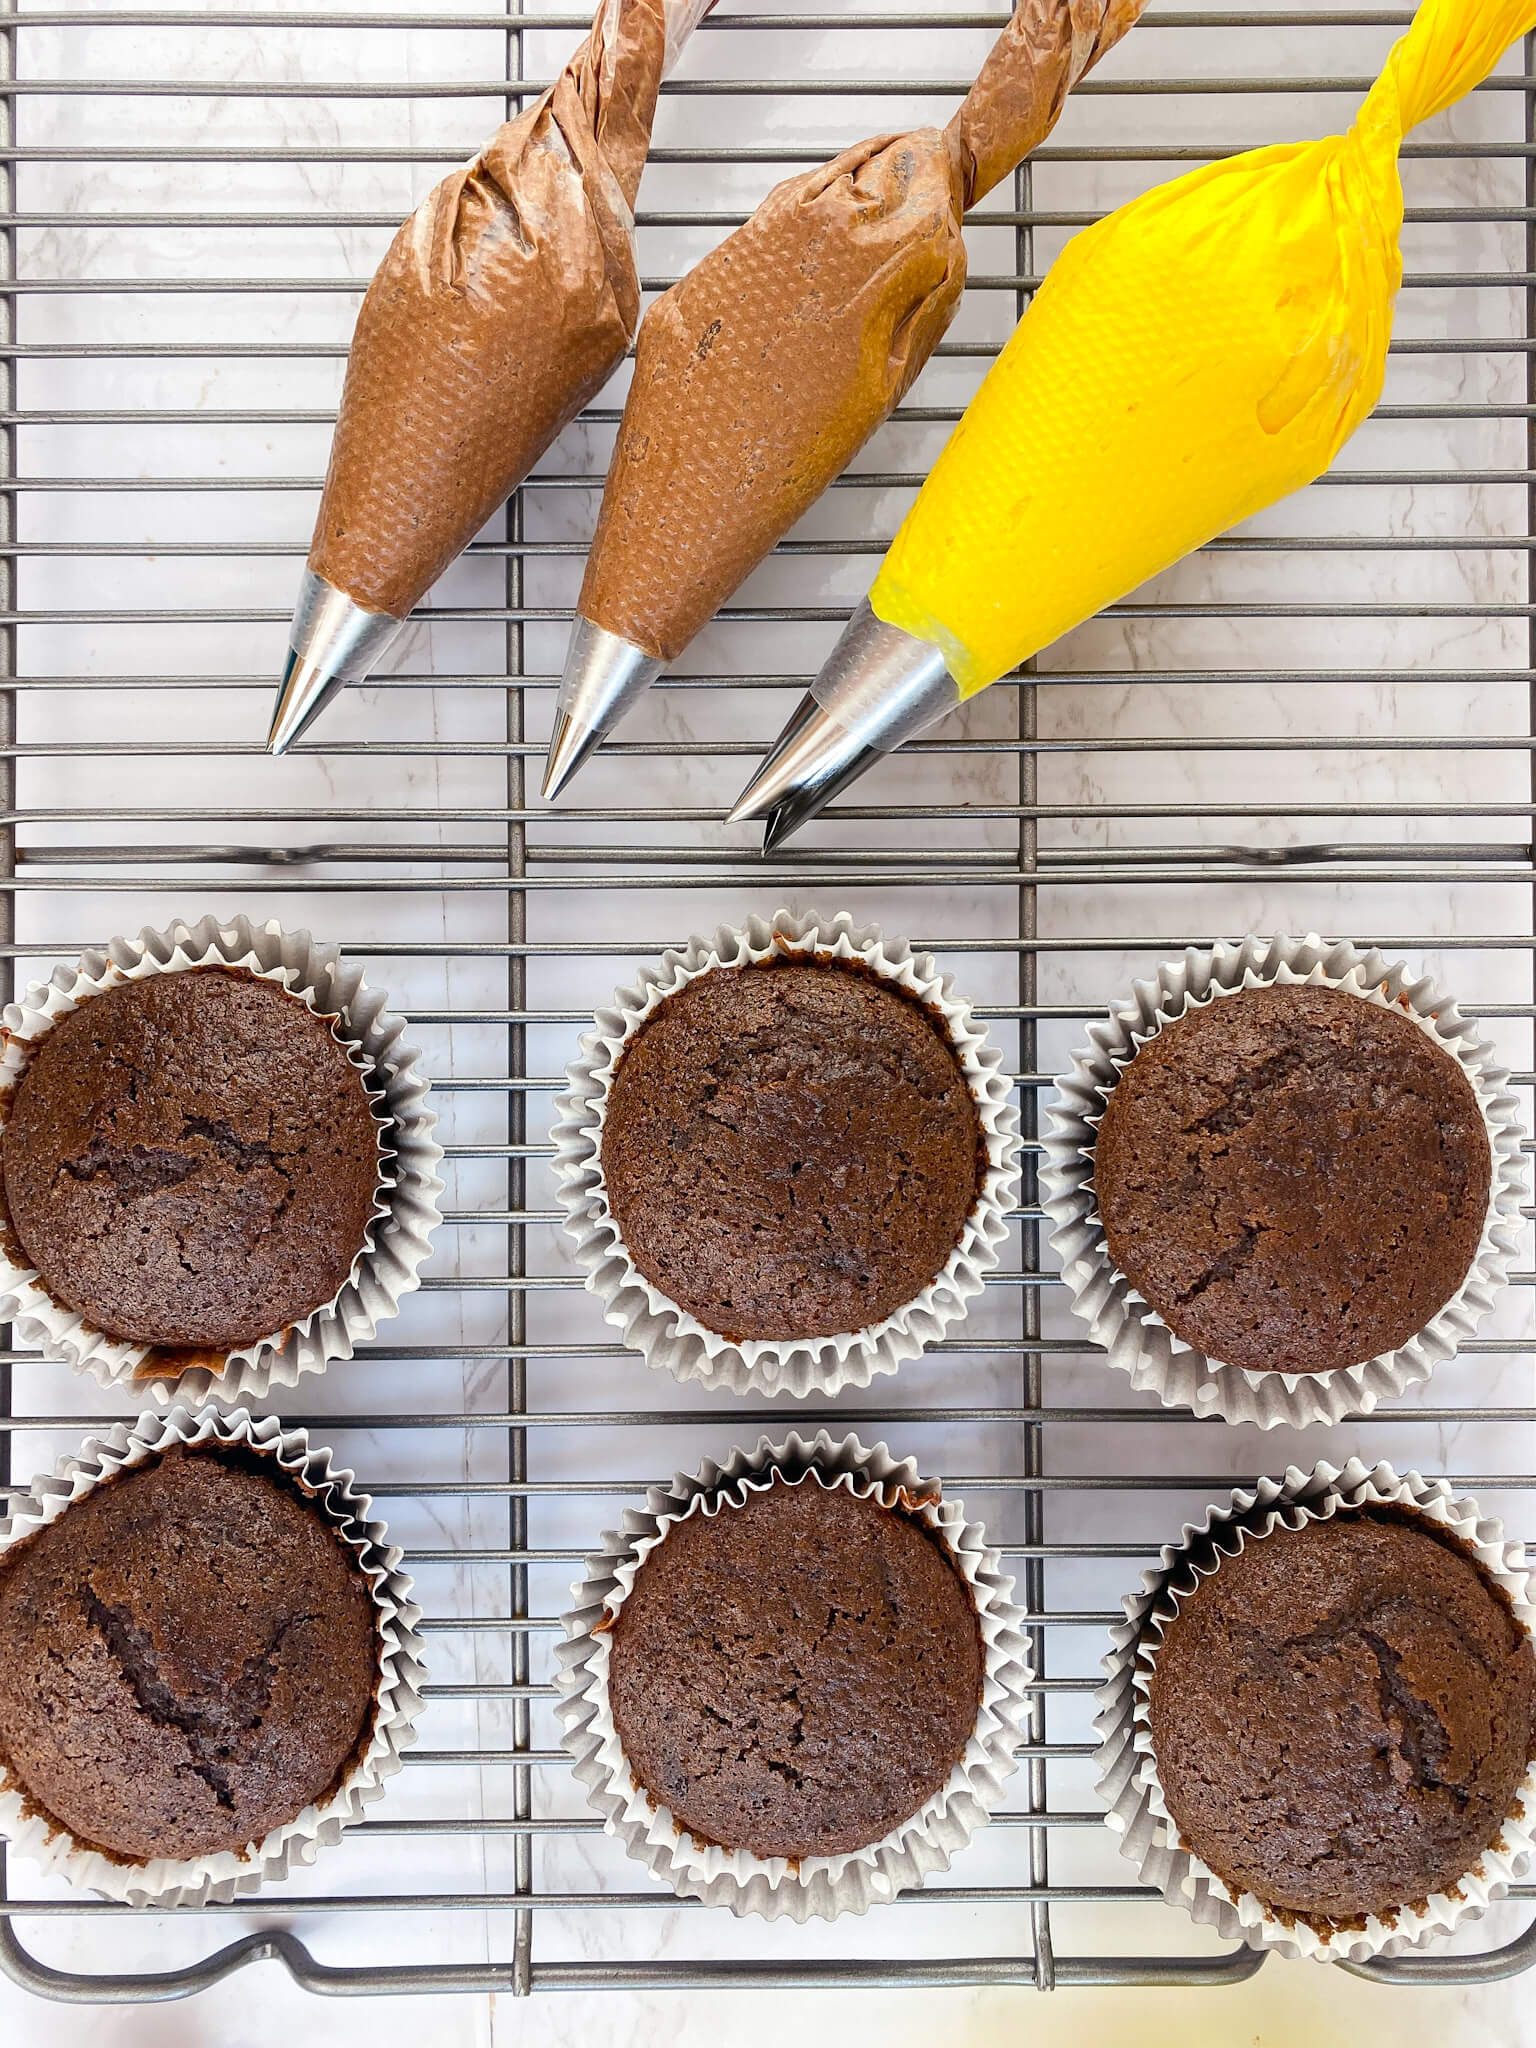
3. Transfer yellow frosting bag to a piping bag fitted with a leaf (#366) piping tip.
For Chocolate Frosting you will:
4. Transfer half of the frosting to a piping bag fitted with a small star (#24) piping tip and the other half to a piping bag fitted with a small circle (#3) piping tip.
How to make the Sunflower Design
Prepare cupcakes and frosting as per above instructions. Note: You can make a smaller batch of frosting if you’d like. By making both batches you are likely to have some extra.

Here you’ll notice the three piping bags we mentioned above and fitted with the small star, small circle, and leaf piping tips.
To begin first spread a little later of the yellow frosting around the top perimeter of the cupcakes about an inch in. This will help the frosting adhere, make the leaves a little more raised, and help to hide any gaps that may show through after piping on the petals. (photo not shown)
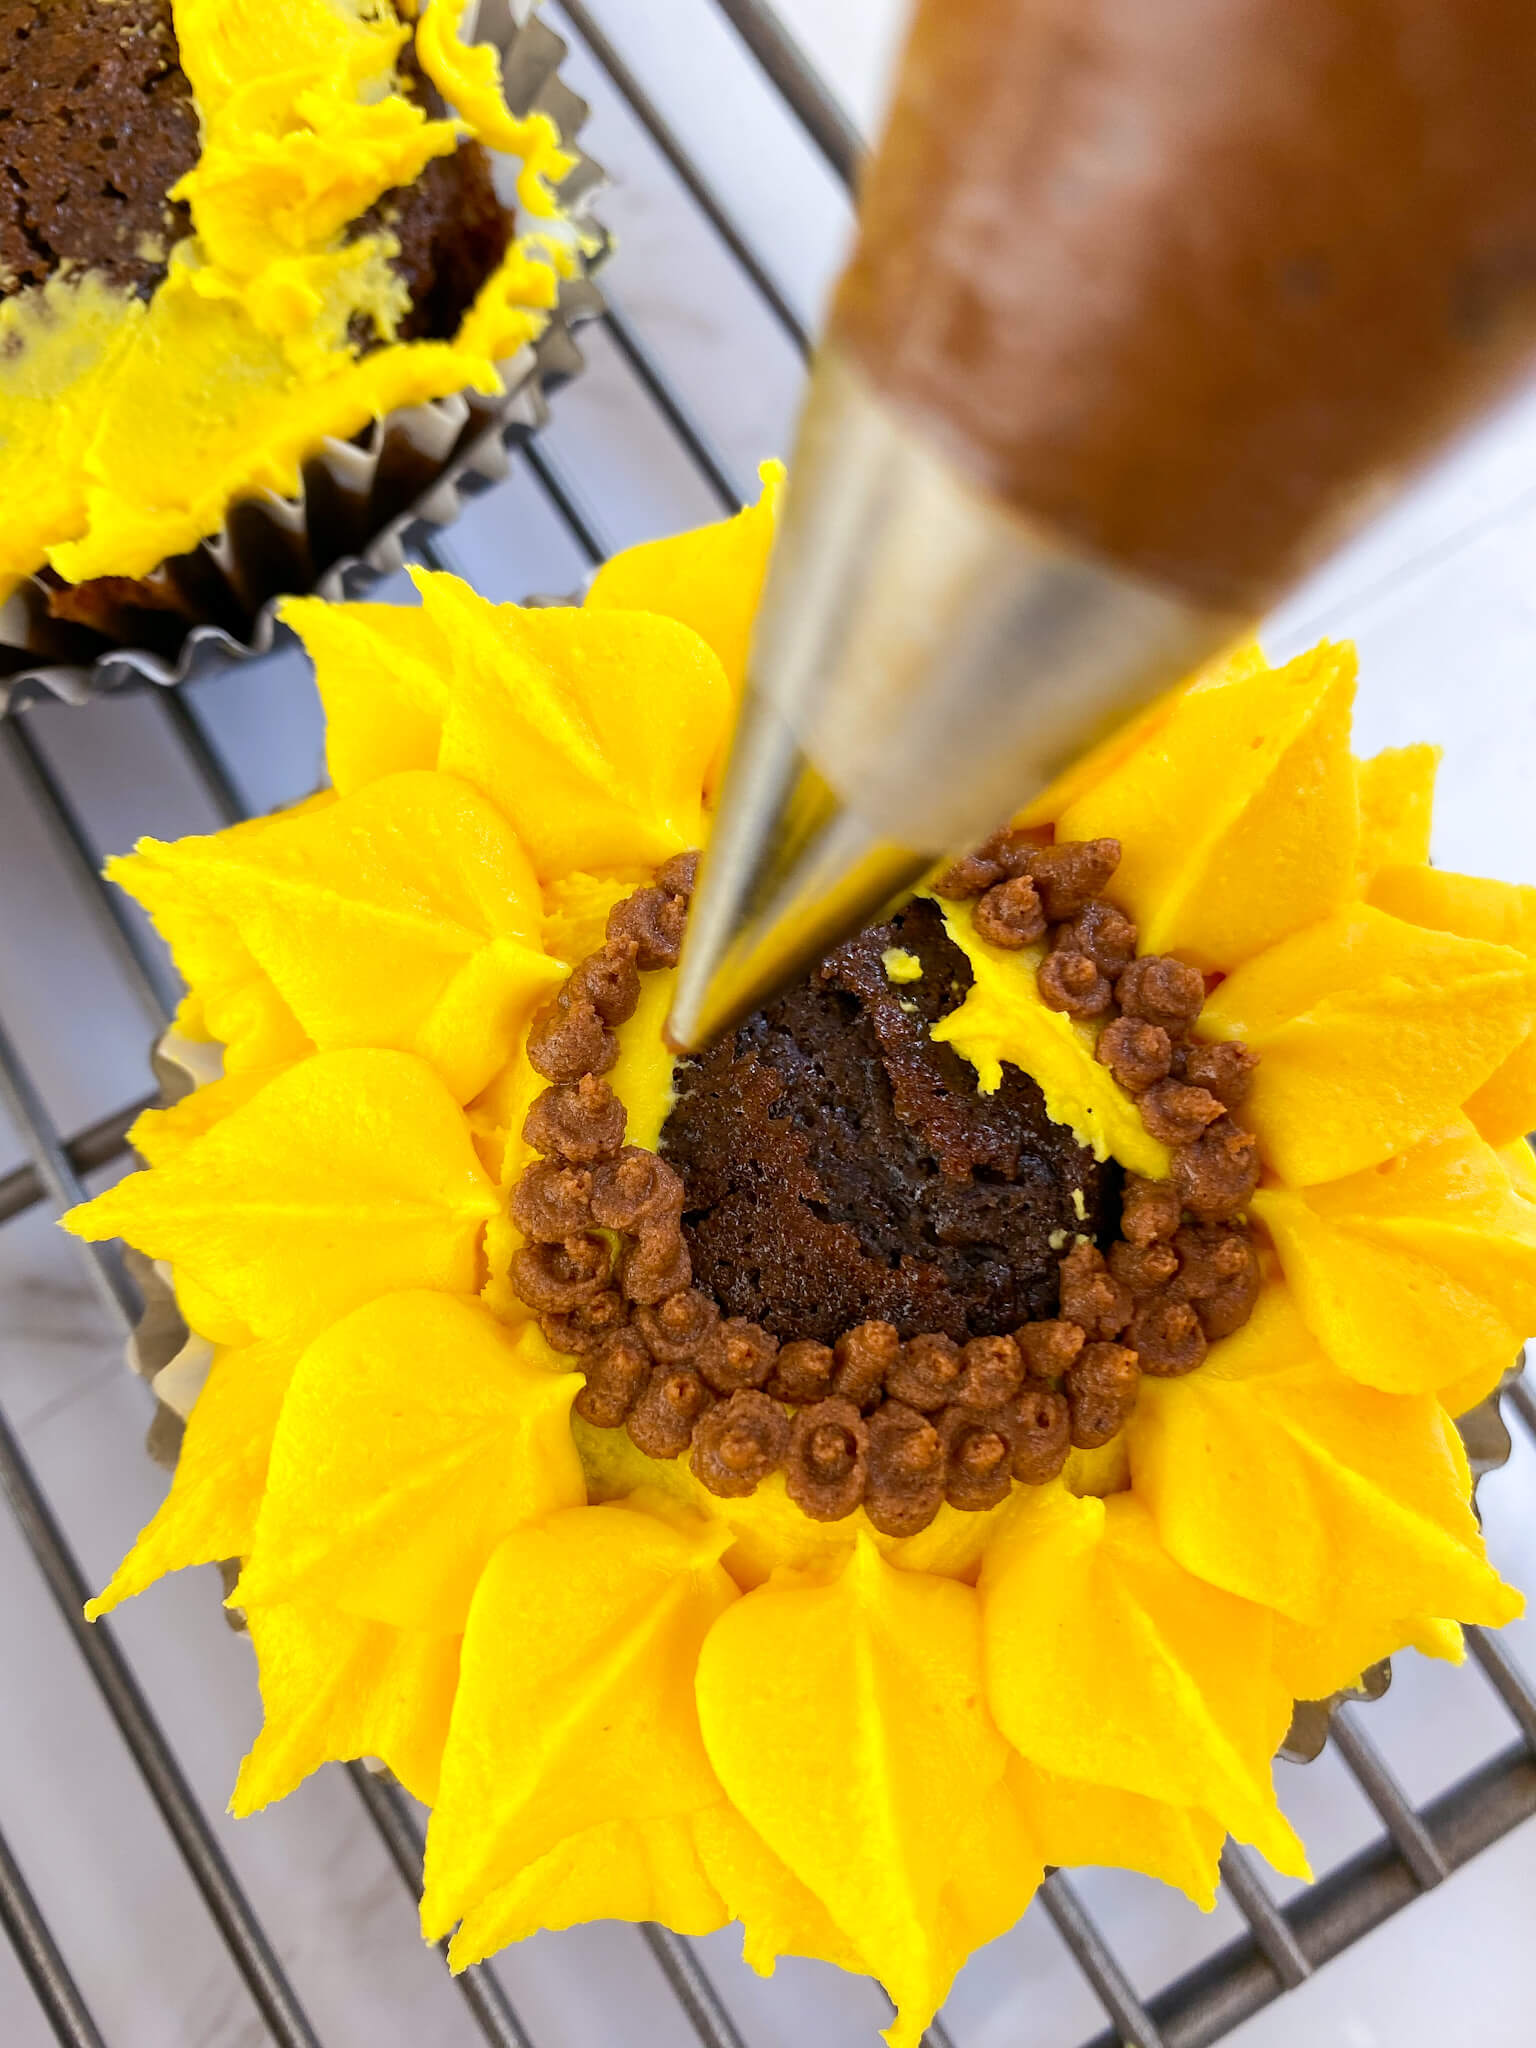
Next you will pipe on the petals by taking the piping bag fitted with the leaf piping tip. With the cut out V you will turn so it sits on the side and the point will rest on the cupcake. You’ll start on the cupcake, apply pressure, and then start the petals working your way around the outside. Once the first row of petals is done you’ll start the next row inside and start that slightly further in and place the piping bag between two existing petals, again working your way around the cupcake.
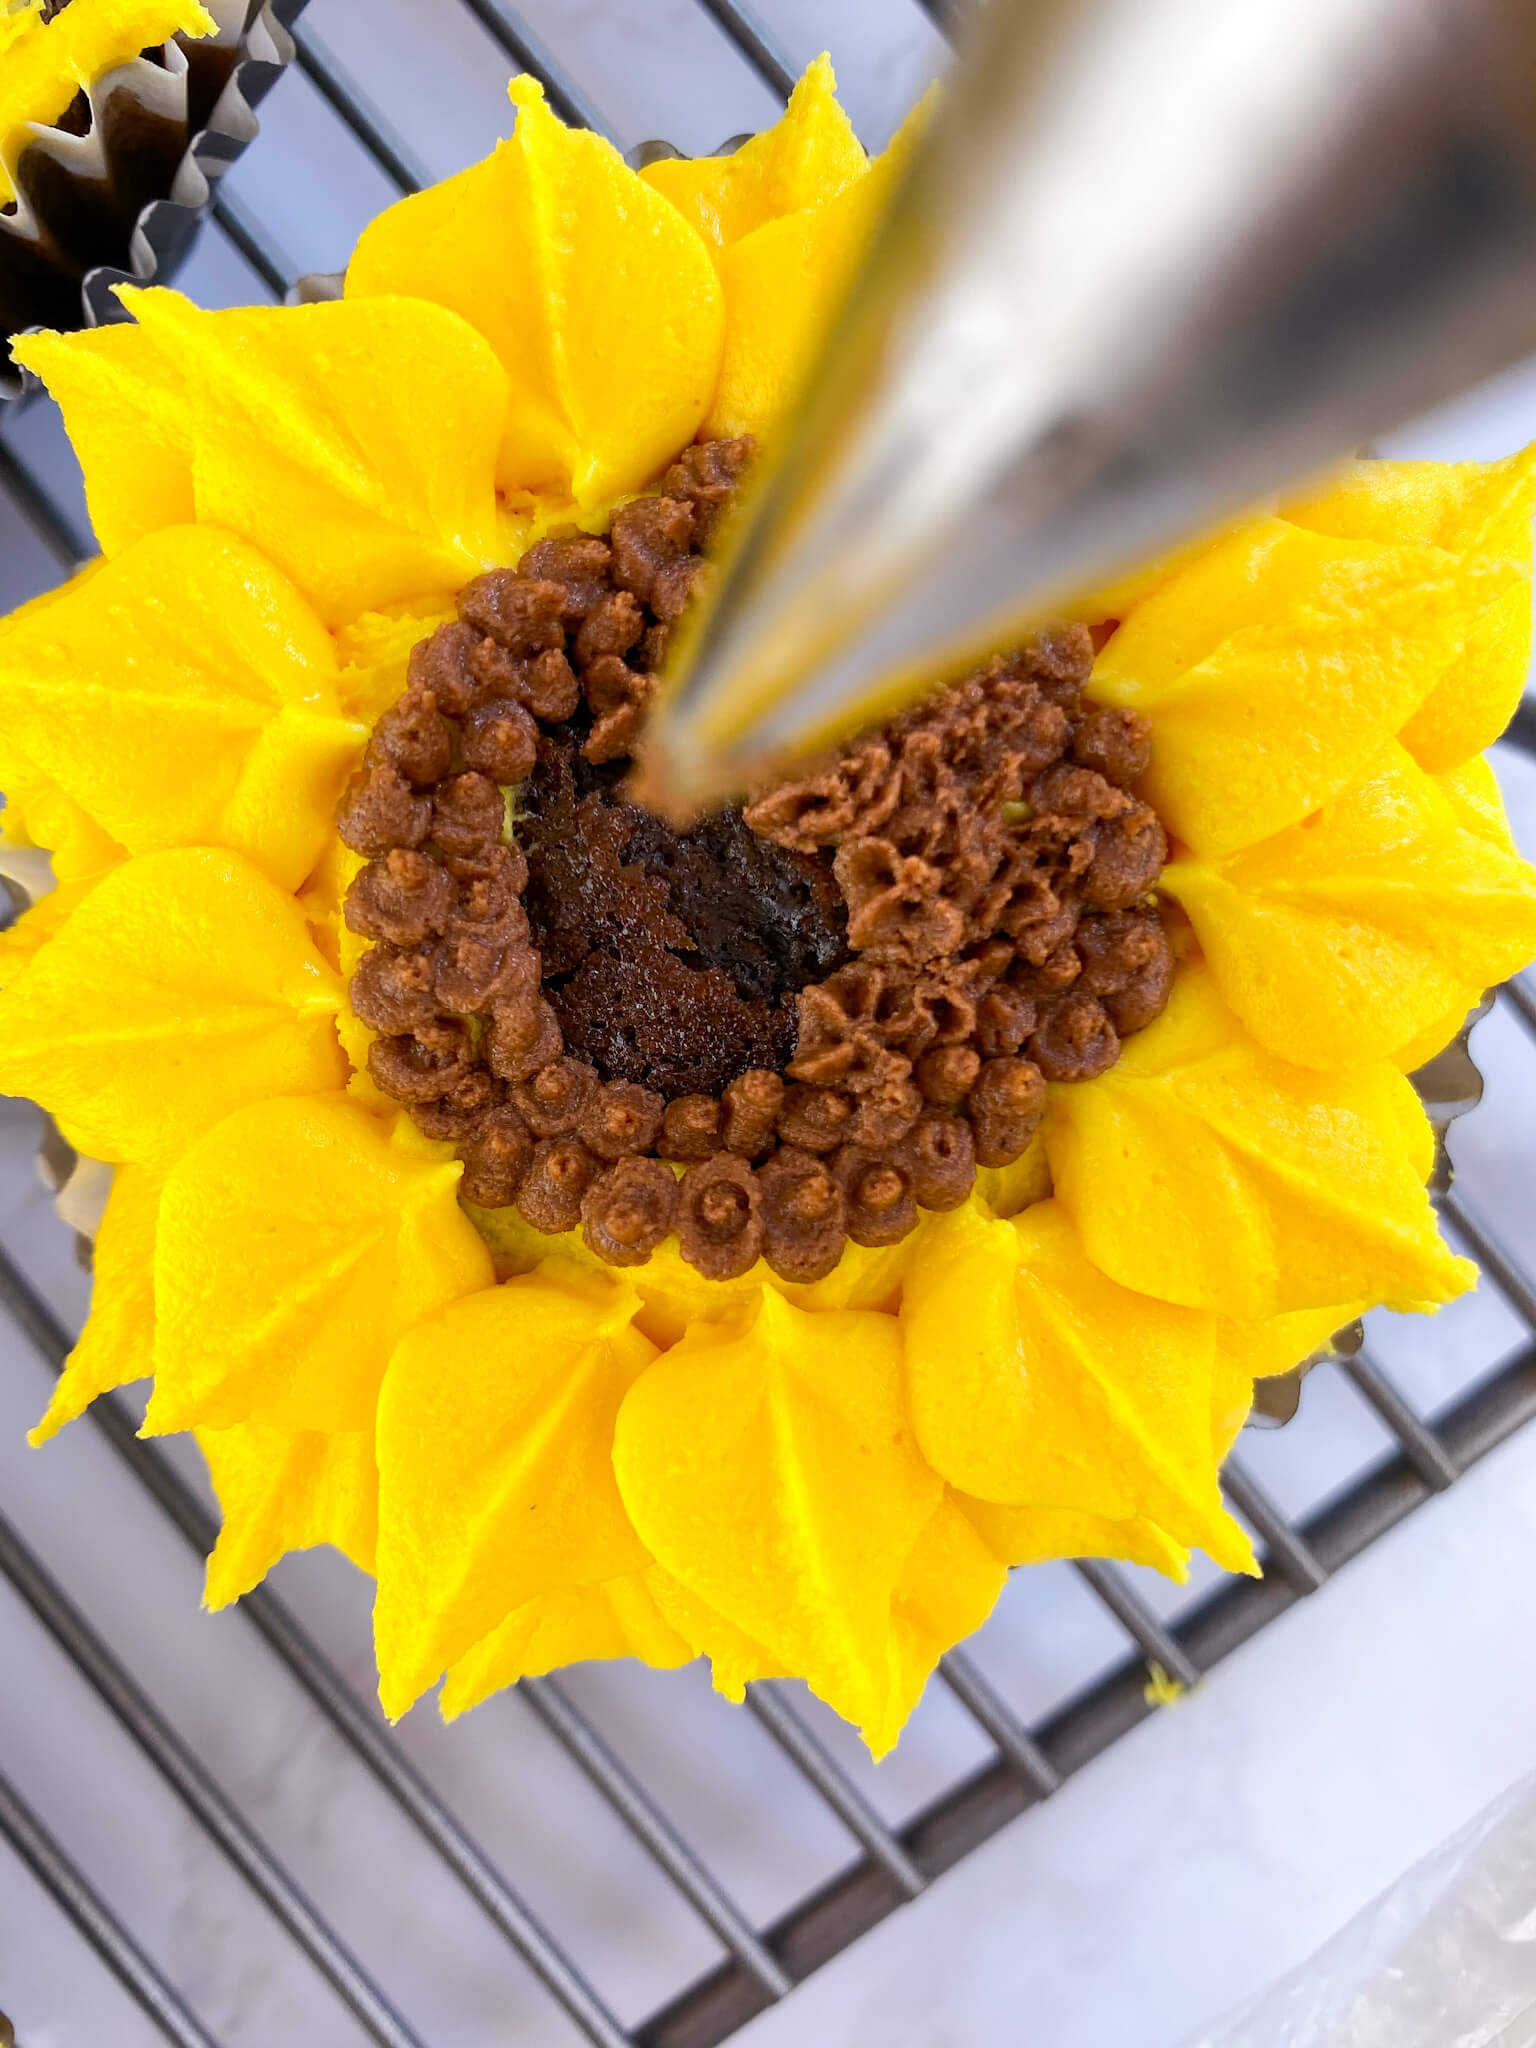
The center is now slightly dipped down and that will be filled with the chocolate frosting. The next piping tip you will use is the small circle. You will create a border around the edge which will leave a nice circle in the middle. For this you will apply slight pressure and then release. Work your way around the outside of the inside circle, filling in any gaps along the way.
Next you will take the last piping bag fitted with the small star piping tip. You will fill in the rest of the middle with the stars, again filling in any gaps.
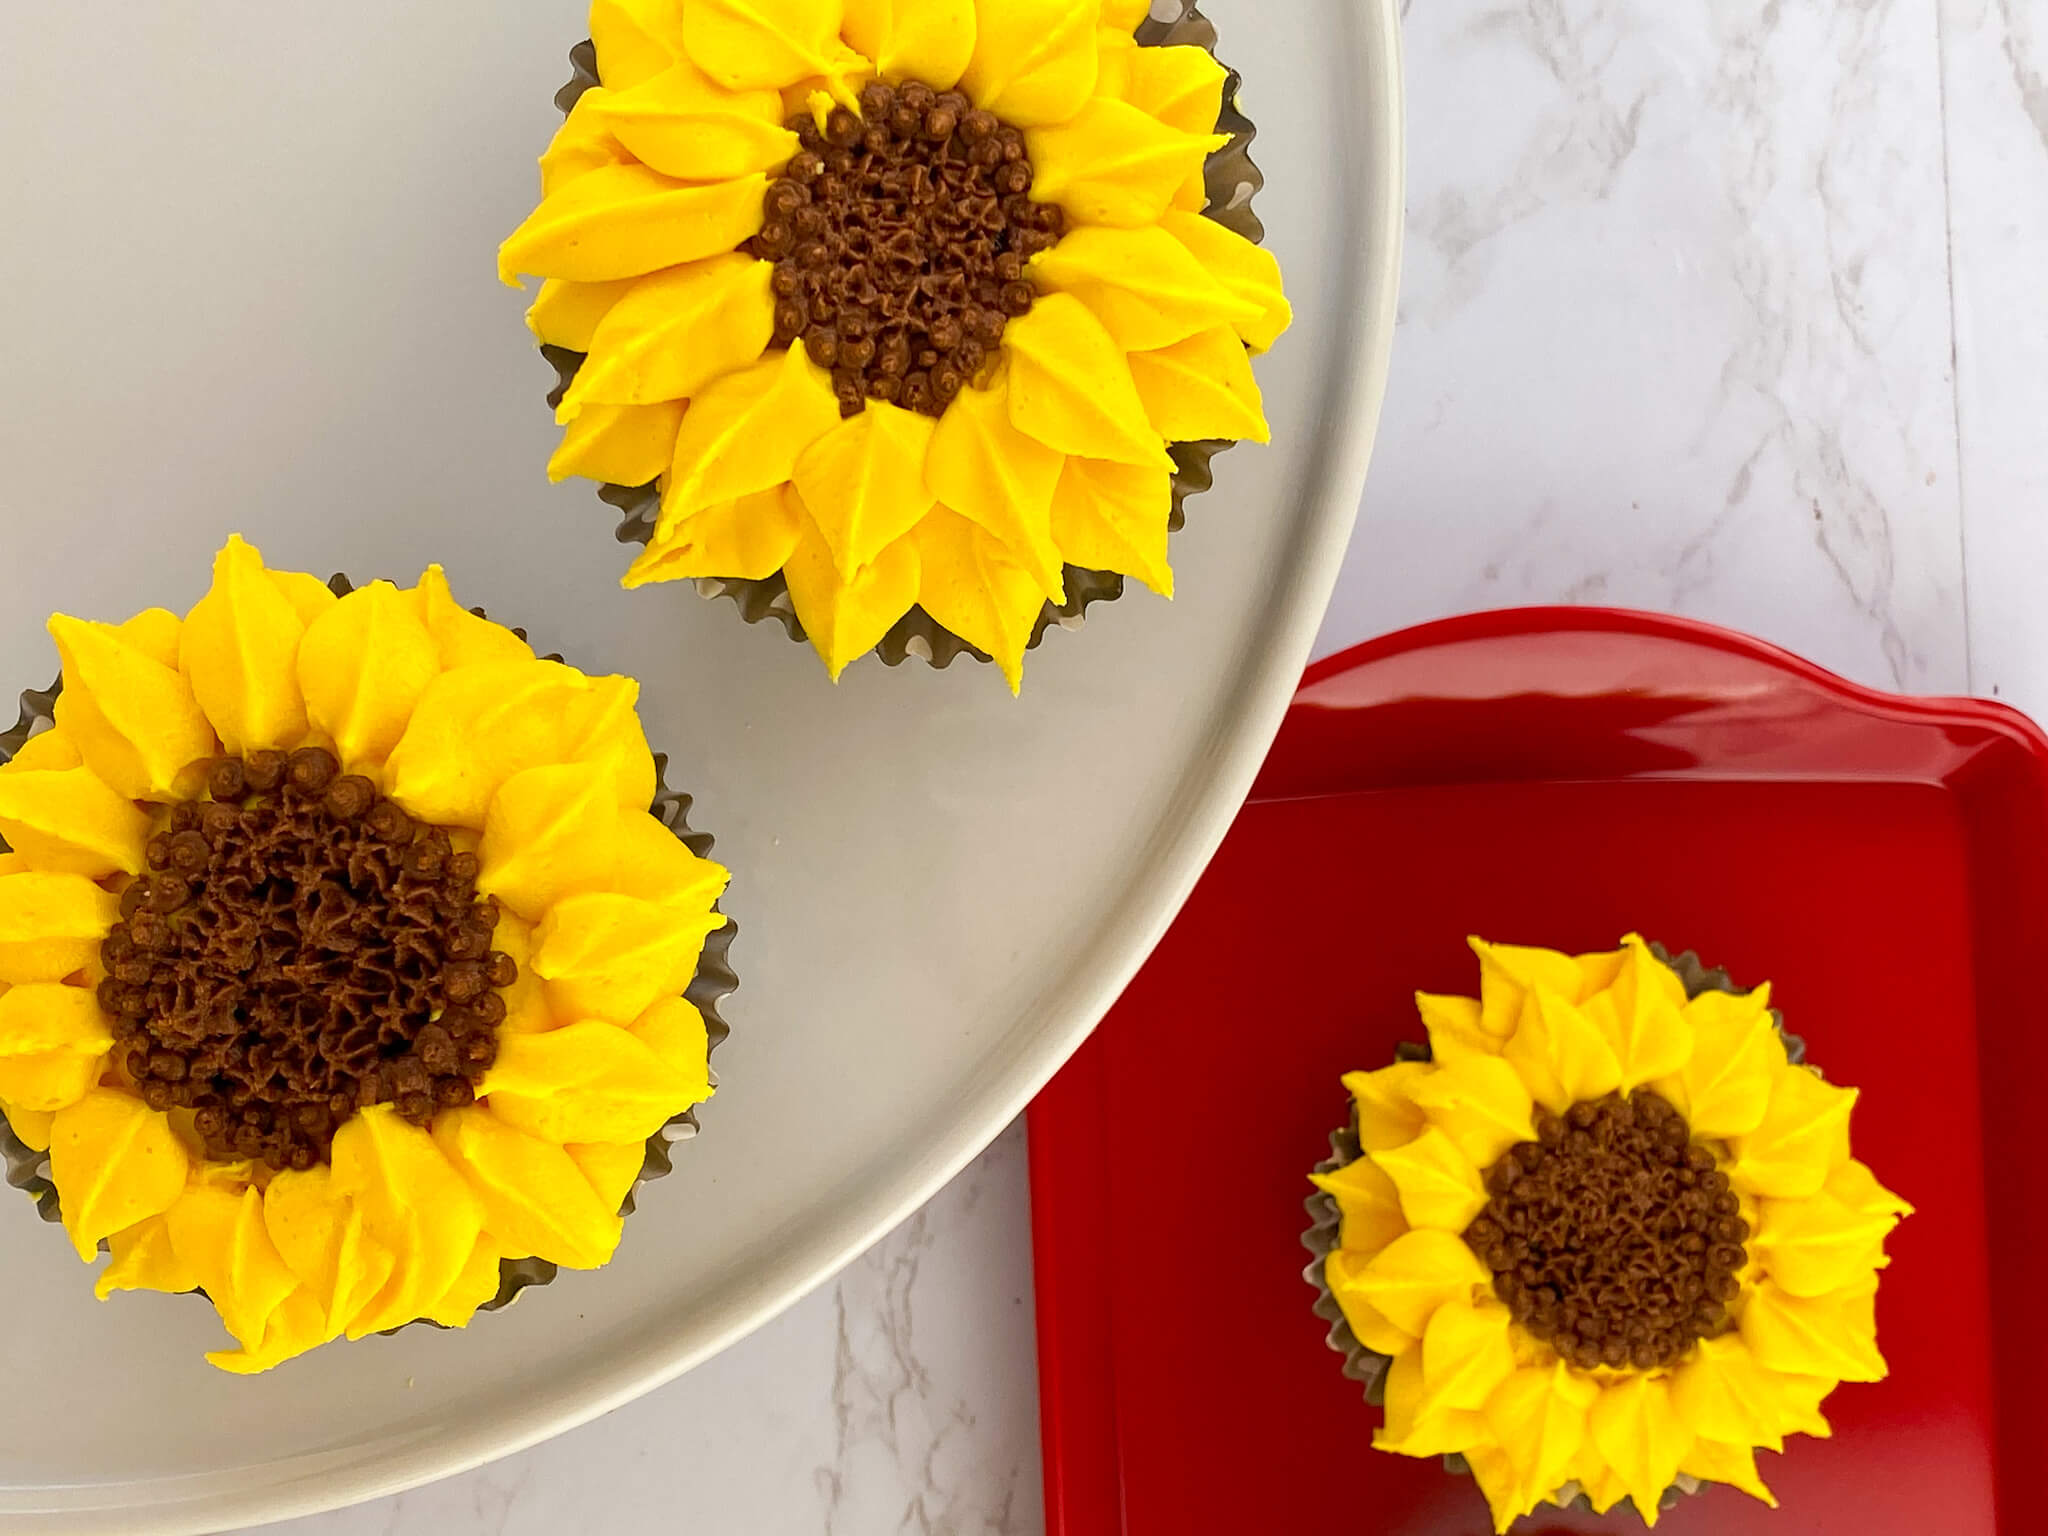
We enjoyed decorating these cupcakes.
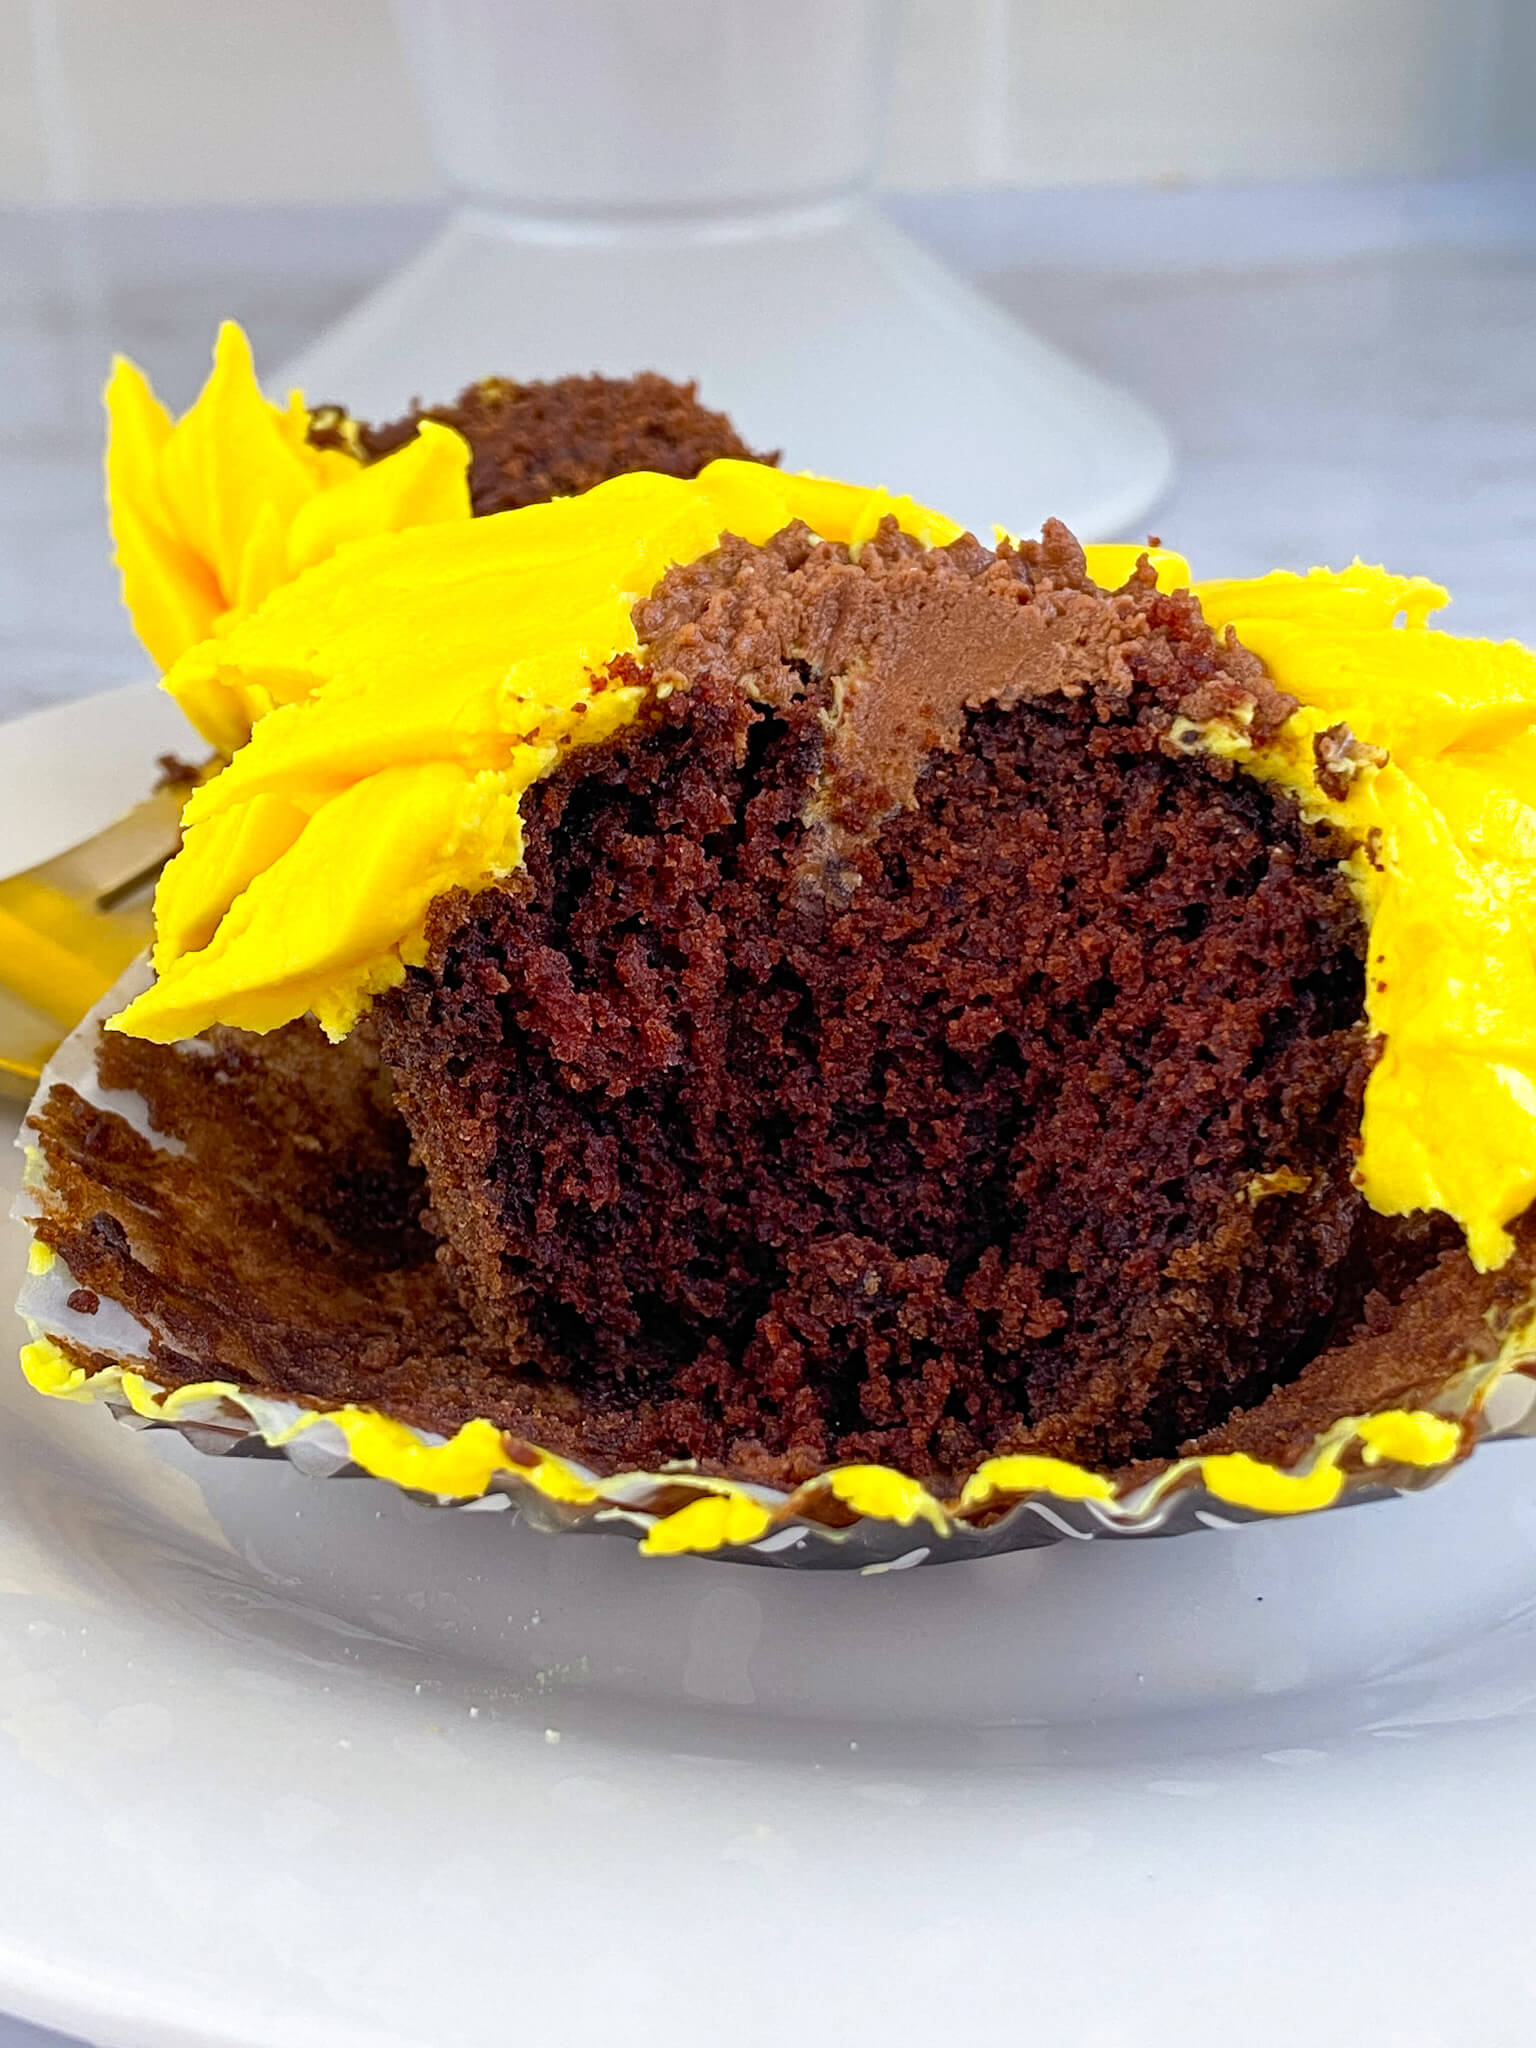
And we enjoyed eating them too!
Don’t forget to check out our other recipes here.
