
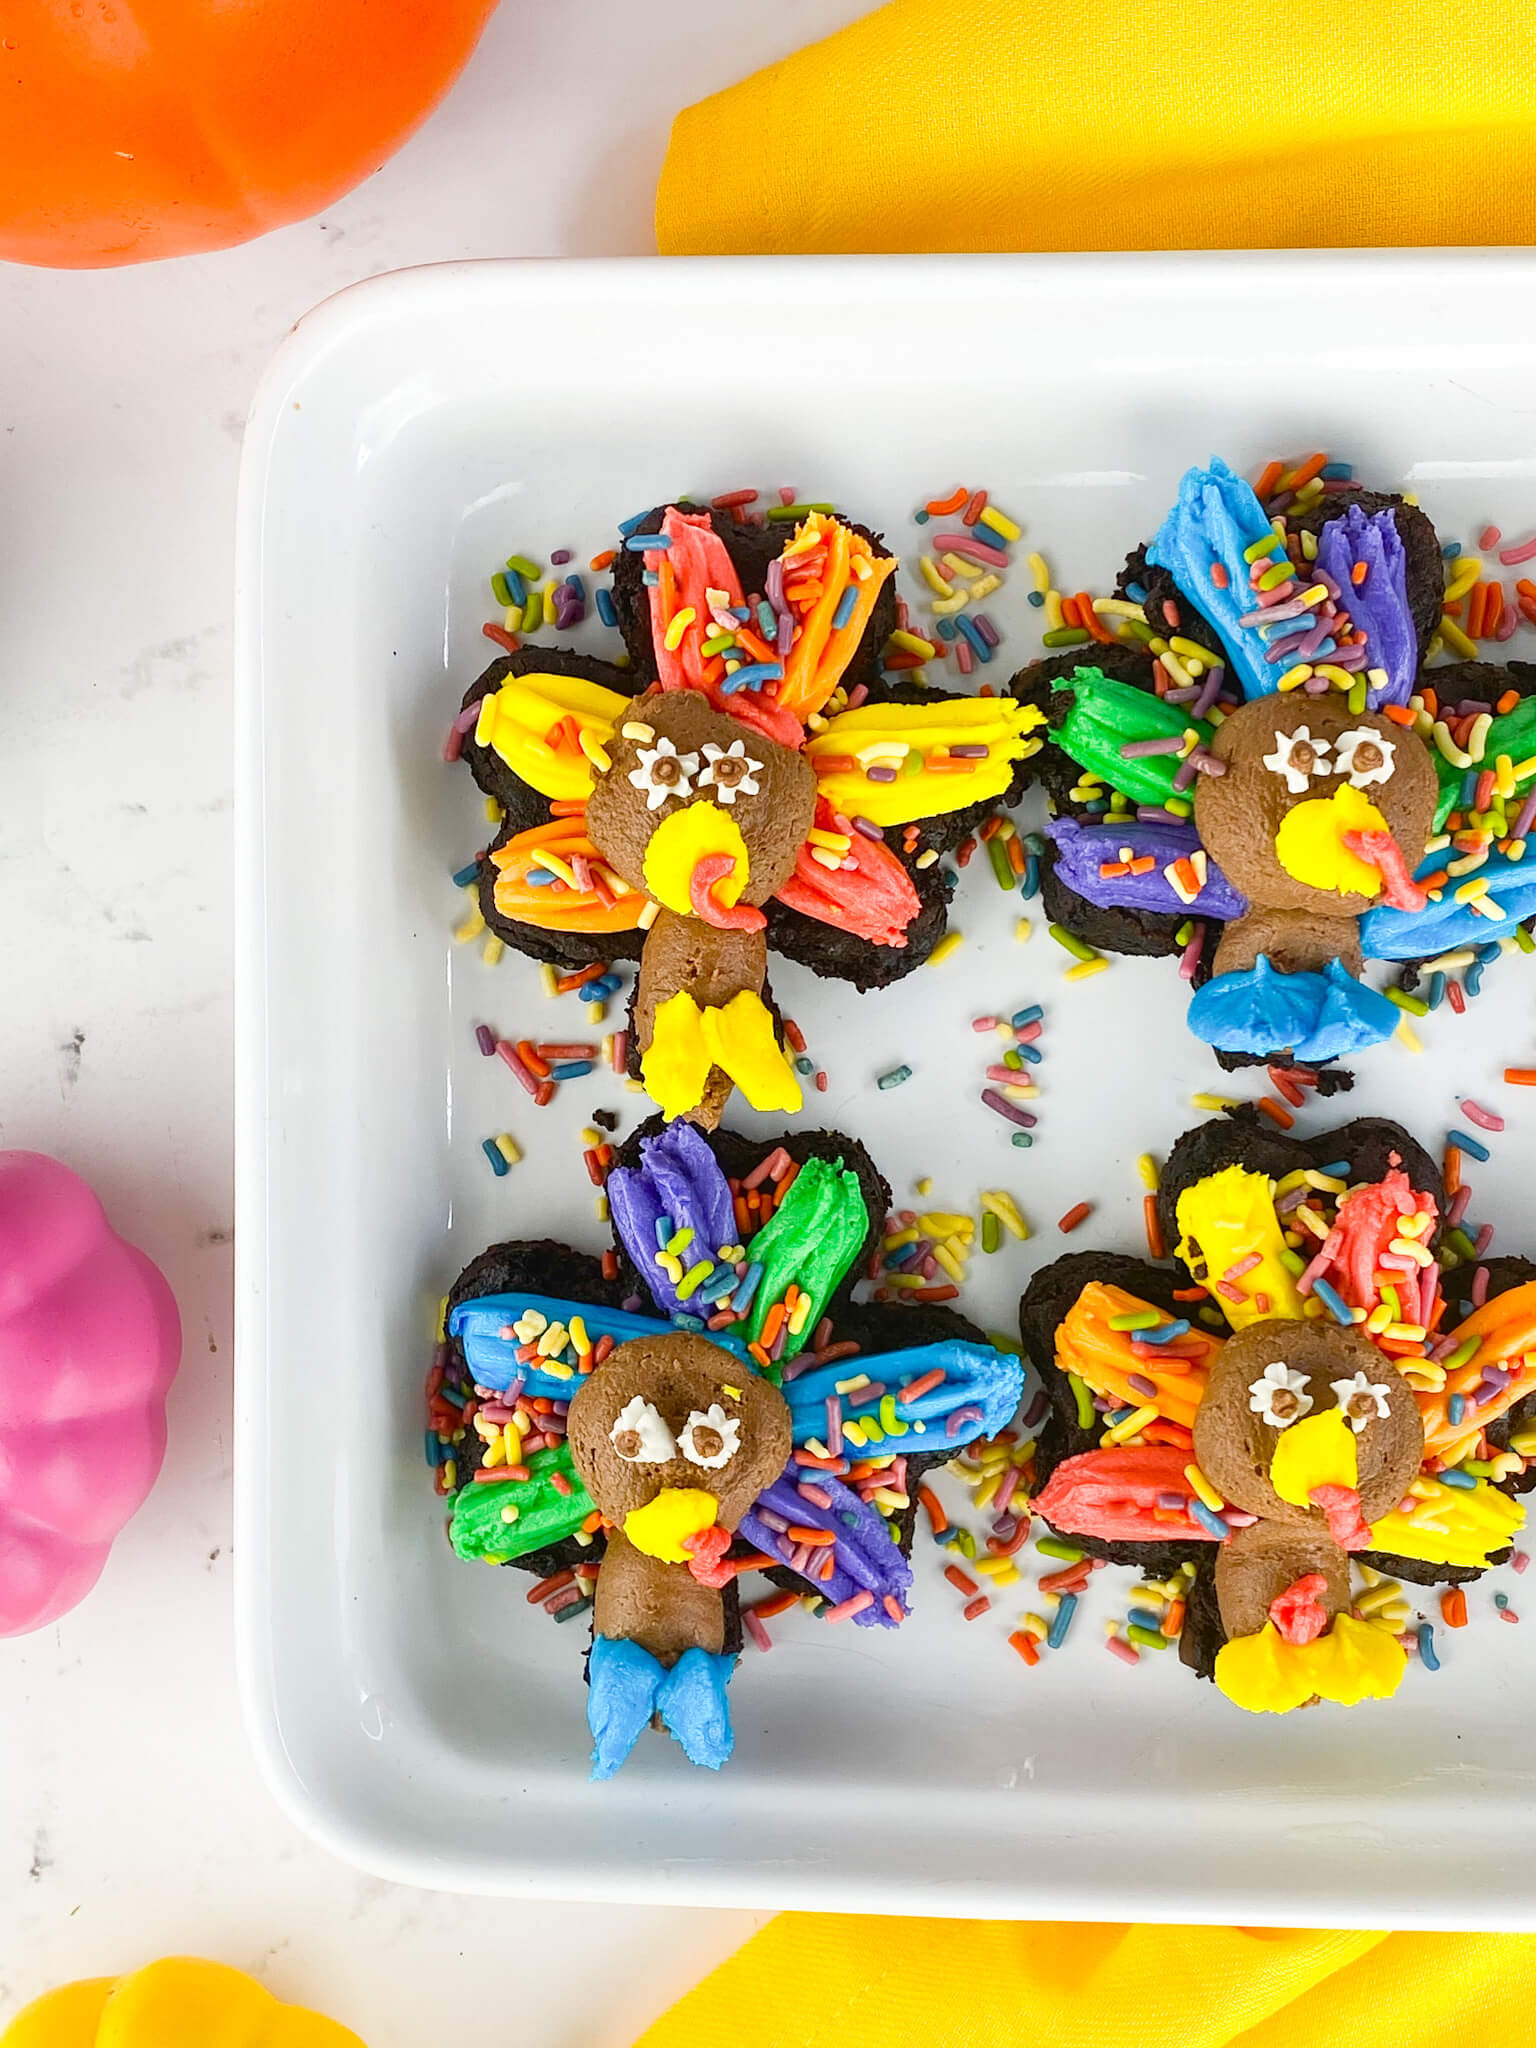
We’re all about being festive with our treats and these did not disappoint! Fun to make and eat! Our little turkey brownies are top 14 allergen free, gluten free, and vegan.
You’ll need our double chocolate brownie mix (which requires just oil and water to bake) and our vanilla frosting mix and chocolate frosting mix for frosting the brownies. You’ll also need a large marshmallow and mini chocolate chips for their eyes and mouth. And can you guess what shape cookie cutter these were made using?!
Let’s get to it! The first step to making these is to gather all your ingredients and supplies.
Turkey Brownies
Tools Needed:
- Mixing bowl(s)
- Spatula
- Measuring cups
- Baking pan
- we used a larger 13″x7″ pan for these
- Non-stick cooking spray
- Parchment paper
- Shamrock (or Turkey) cookie cutter
- Piping Bags
- Piping Tips
- Food Coloring of your choice (Color Garden is available here)
Brownie Ingredients Needed:
- Kate’s Safe & Sweet Double Chocolate Brownie Mix
- 1/3 cup of your safe oil
- 2/3 cup of water
(above amounts are what is need to make a full batch. If you are making a half batch adjust ingredient measurements as needed per packaging.)
Vanilla Frosting Ingredients Needed:
- Kate’s Safe & Sweet Vanilla Frosting Mix
- 1/2 cup butter of choice
- 1/4 cup vegetable shortening
- 3-4 tablespoons of your safe milk
You may use 3/4 cup of your safe butter if you don’t want to use shortening.
(above amounts are what is need to make a full batch. If you are making a half batch adjust ingredient measurements as needed per packaging.)
Chocolate Frosting Ingredients Needed:
- Kate’s Safe & Sweet Chocolate Frosting Mix
- 1/2 cup butter of choice
- 1/4 cup vegetable shortening
- 3-4 tablespoons of your safe milk
You may use 3/4 cup of your safe butter if you don’t want to use shortening.
(above amounts are what is need to make a full batch. If you are making a half batch adjust ingredient measurements as needed per packaging.)
Brownie Mix Instructions:
- Preheat oven to 325°F. Lightly spray the side of the pan with non-stick cooking spray.
- If using a larger pan, line with parchment paper.
- In a medium bowl, blend the brownie mix, water, and oil together until smooth. Scrape the sides of the bowl as needed.
- Spread batter evenly into prepared pan. Note: batter will be thick.
- Bake on middle rack as follows:
BAKING TIMES for a full batch:
9” x 9” pan 29-32 minutes
11” x 7” pan 27-30 minutes
13″ x 7″ pan 25-27 minutes
- Remove from oven and allow pan to cool on wire rack.
*Since we are using a cookie cutter we used a larger plan for these to make a slightly thinner brownie.
Frosting Instructions (Vanilla and Chocolate)
1. In a large mixing bowl with a hand mixer, or a stand mixer, combine the butter of choice with the shortening. Whip until light and fluffy, about 3 minutes.
2. Add the contents of the frosting mix and 1 tablespoon of milk at a time. Whip again until the frosting is light and fluffy, adding a splash more of milk if needed.
3. Repeat again for second frosting.
How to Make the Turkeys
Did you figure out which shape cookie cutter we used?! Yes, it’s a shamrock! You could also use a large flower and cut off the bottom 1/4 from the brownie too, or a turkey shaped cookie cutter works of course!

Here’s how to work with the frosting:
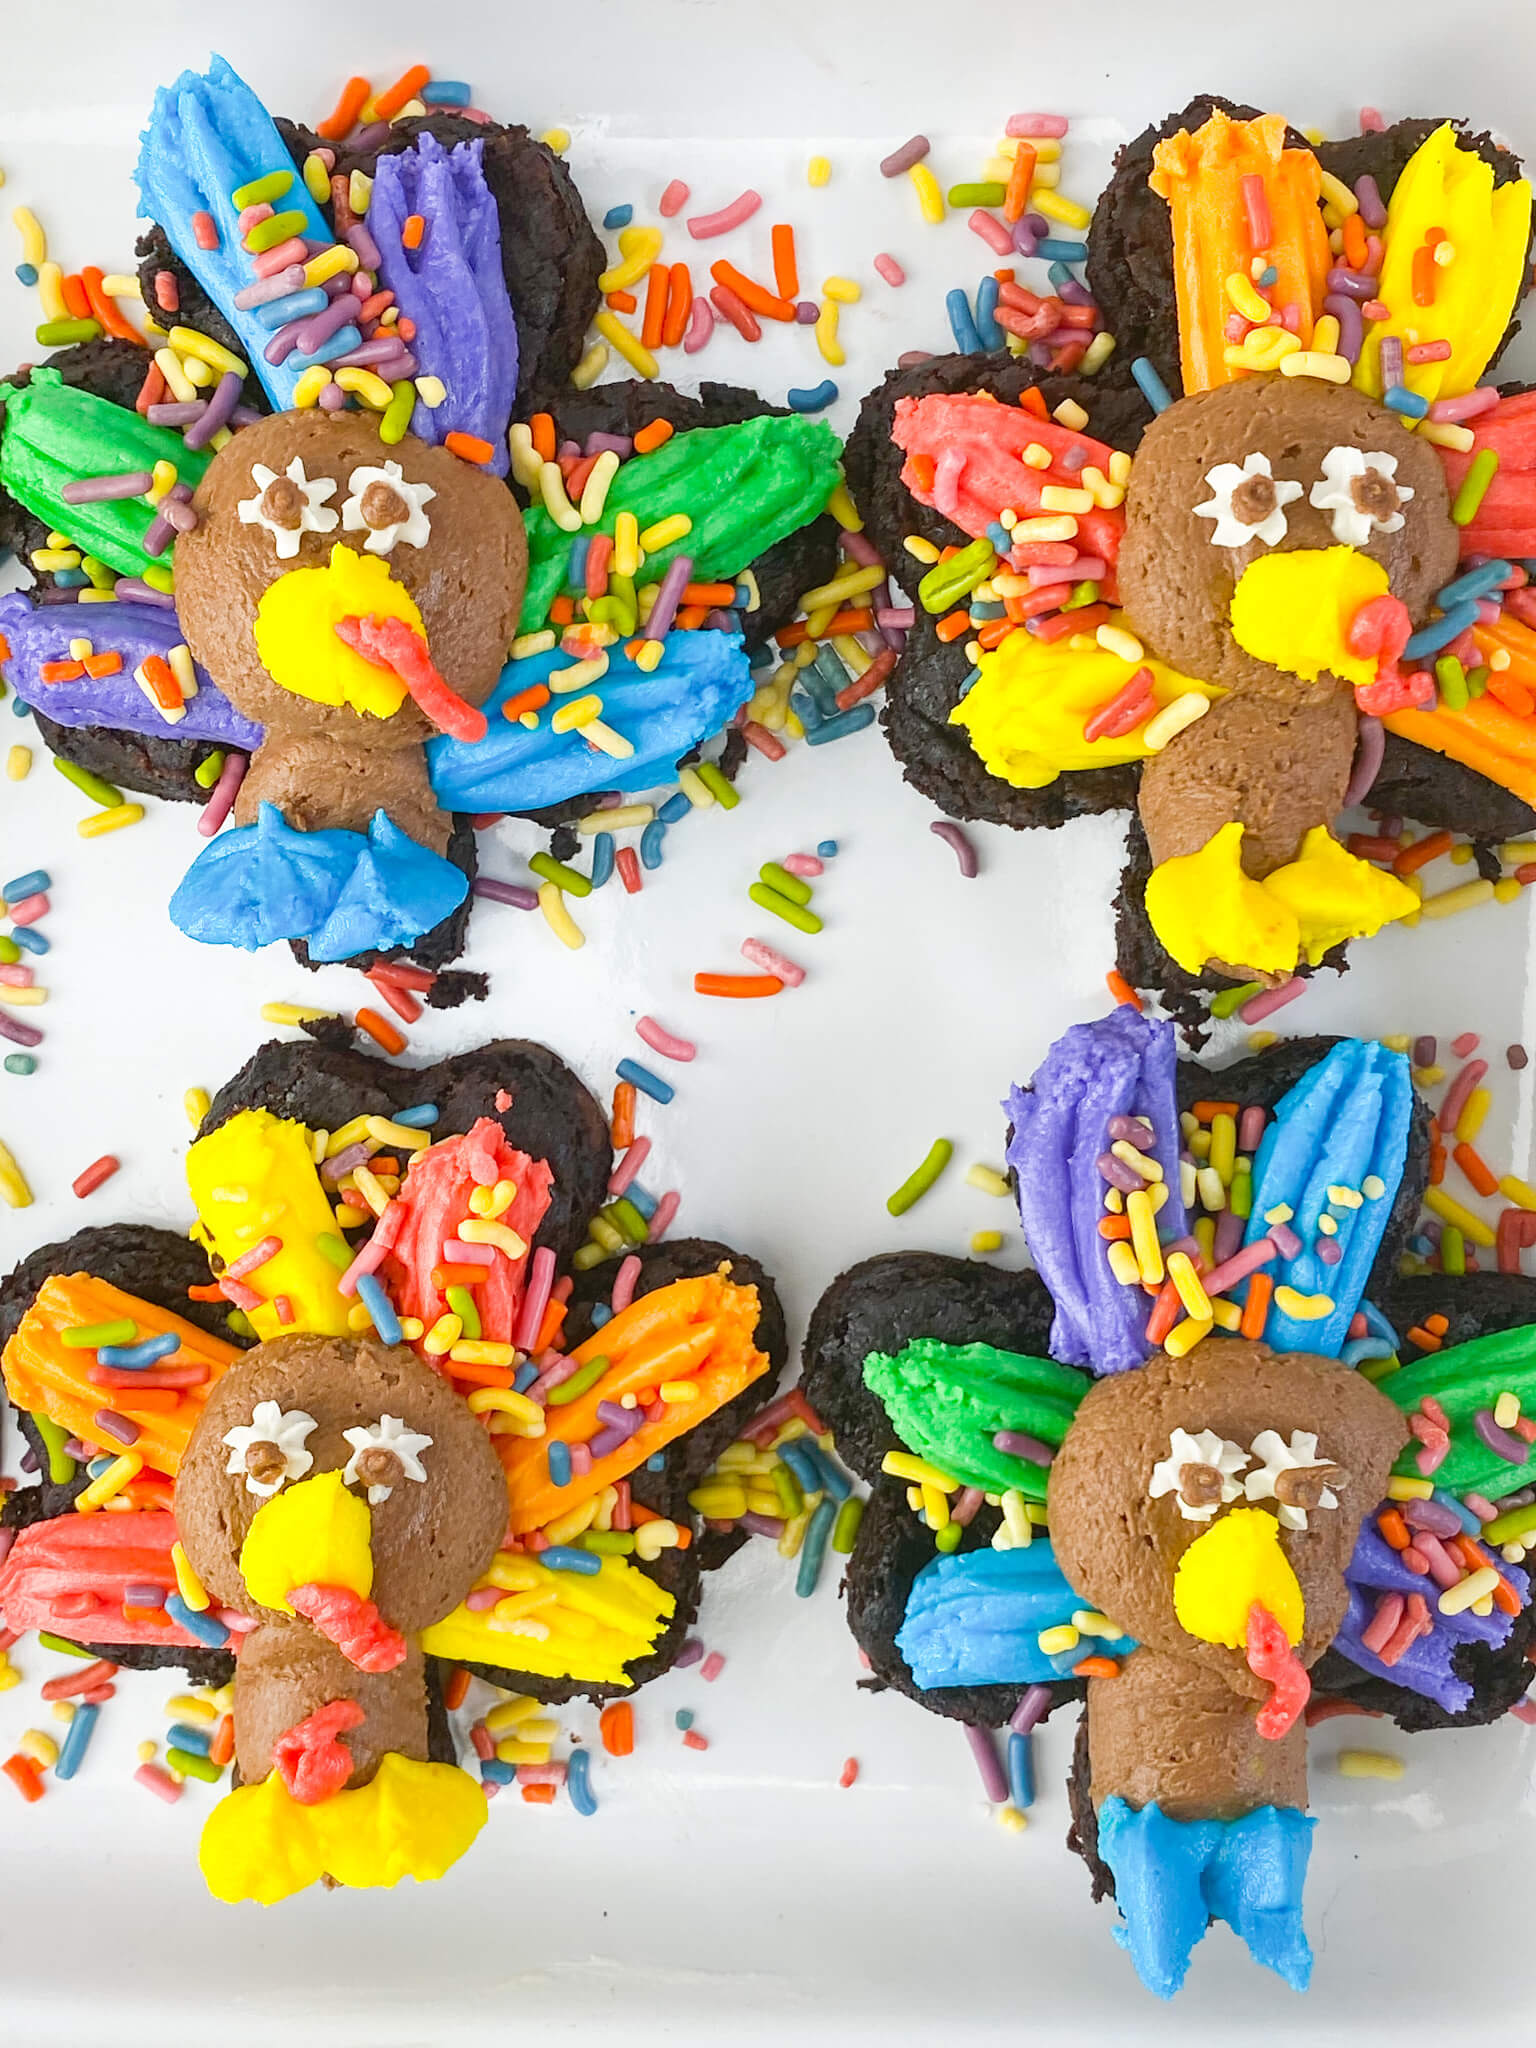
- First divide the vanilla frosting into small bowls and color as you desire. If you aren’t using eyeball candies (we didn’t) you will need to set aside about 1/8 cup for the eyes. We had a lot of bowls of frosting because we couldn’t decide on which colors to go with, so we went with two options. Set aside after coloring.
- Take the chocolate frosting and place into a ziplock bag or piping bag and snip off a corner. First you’ll make the body part (under the head) and then you’ll make the head/face with the chocolate frosting. Repeat on all turkeys.
- Using your colored vanilla frosting place into a piping bag fitted with an open star piping tip. (for this step you’ll need multiple piping bags or can use a reusable one after cleaning each time.) We did one color at a time and make two feathers per each color on each turkey. You’ll repeat this for each color you’d like to use.
- For the beaks you’ll need a leaf piping tip. You can chose your color for these and we went with yellow for ours.
- For the feet you’ll also use a leaf piping tip. Again, chose the color(s) you’d like.
- Next up is his gobbler which we use the traditional red for and piped with a small round piping tip.
- Taking your eyeball candies or vanilla frosting you set aside make the turkeys eyes. If using frosting place a small dab of chocolate on top of the vanilla part to complete his eyes.
- Finish with dark rainbow sprinkles!
I promise these are easy to make – and my children loved to divide the frosting and make the colors. Of course you can chose the colors you like the best.
We made 6 turkey brownies, one for each in our family and two to share.
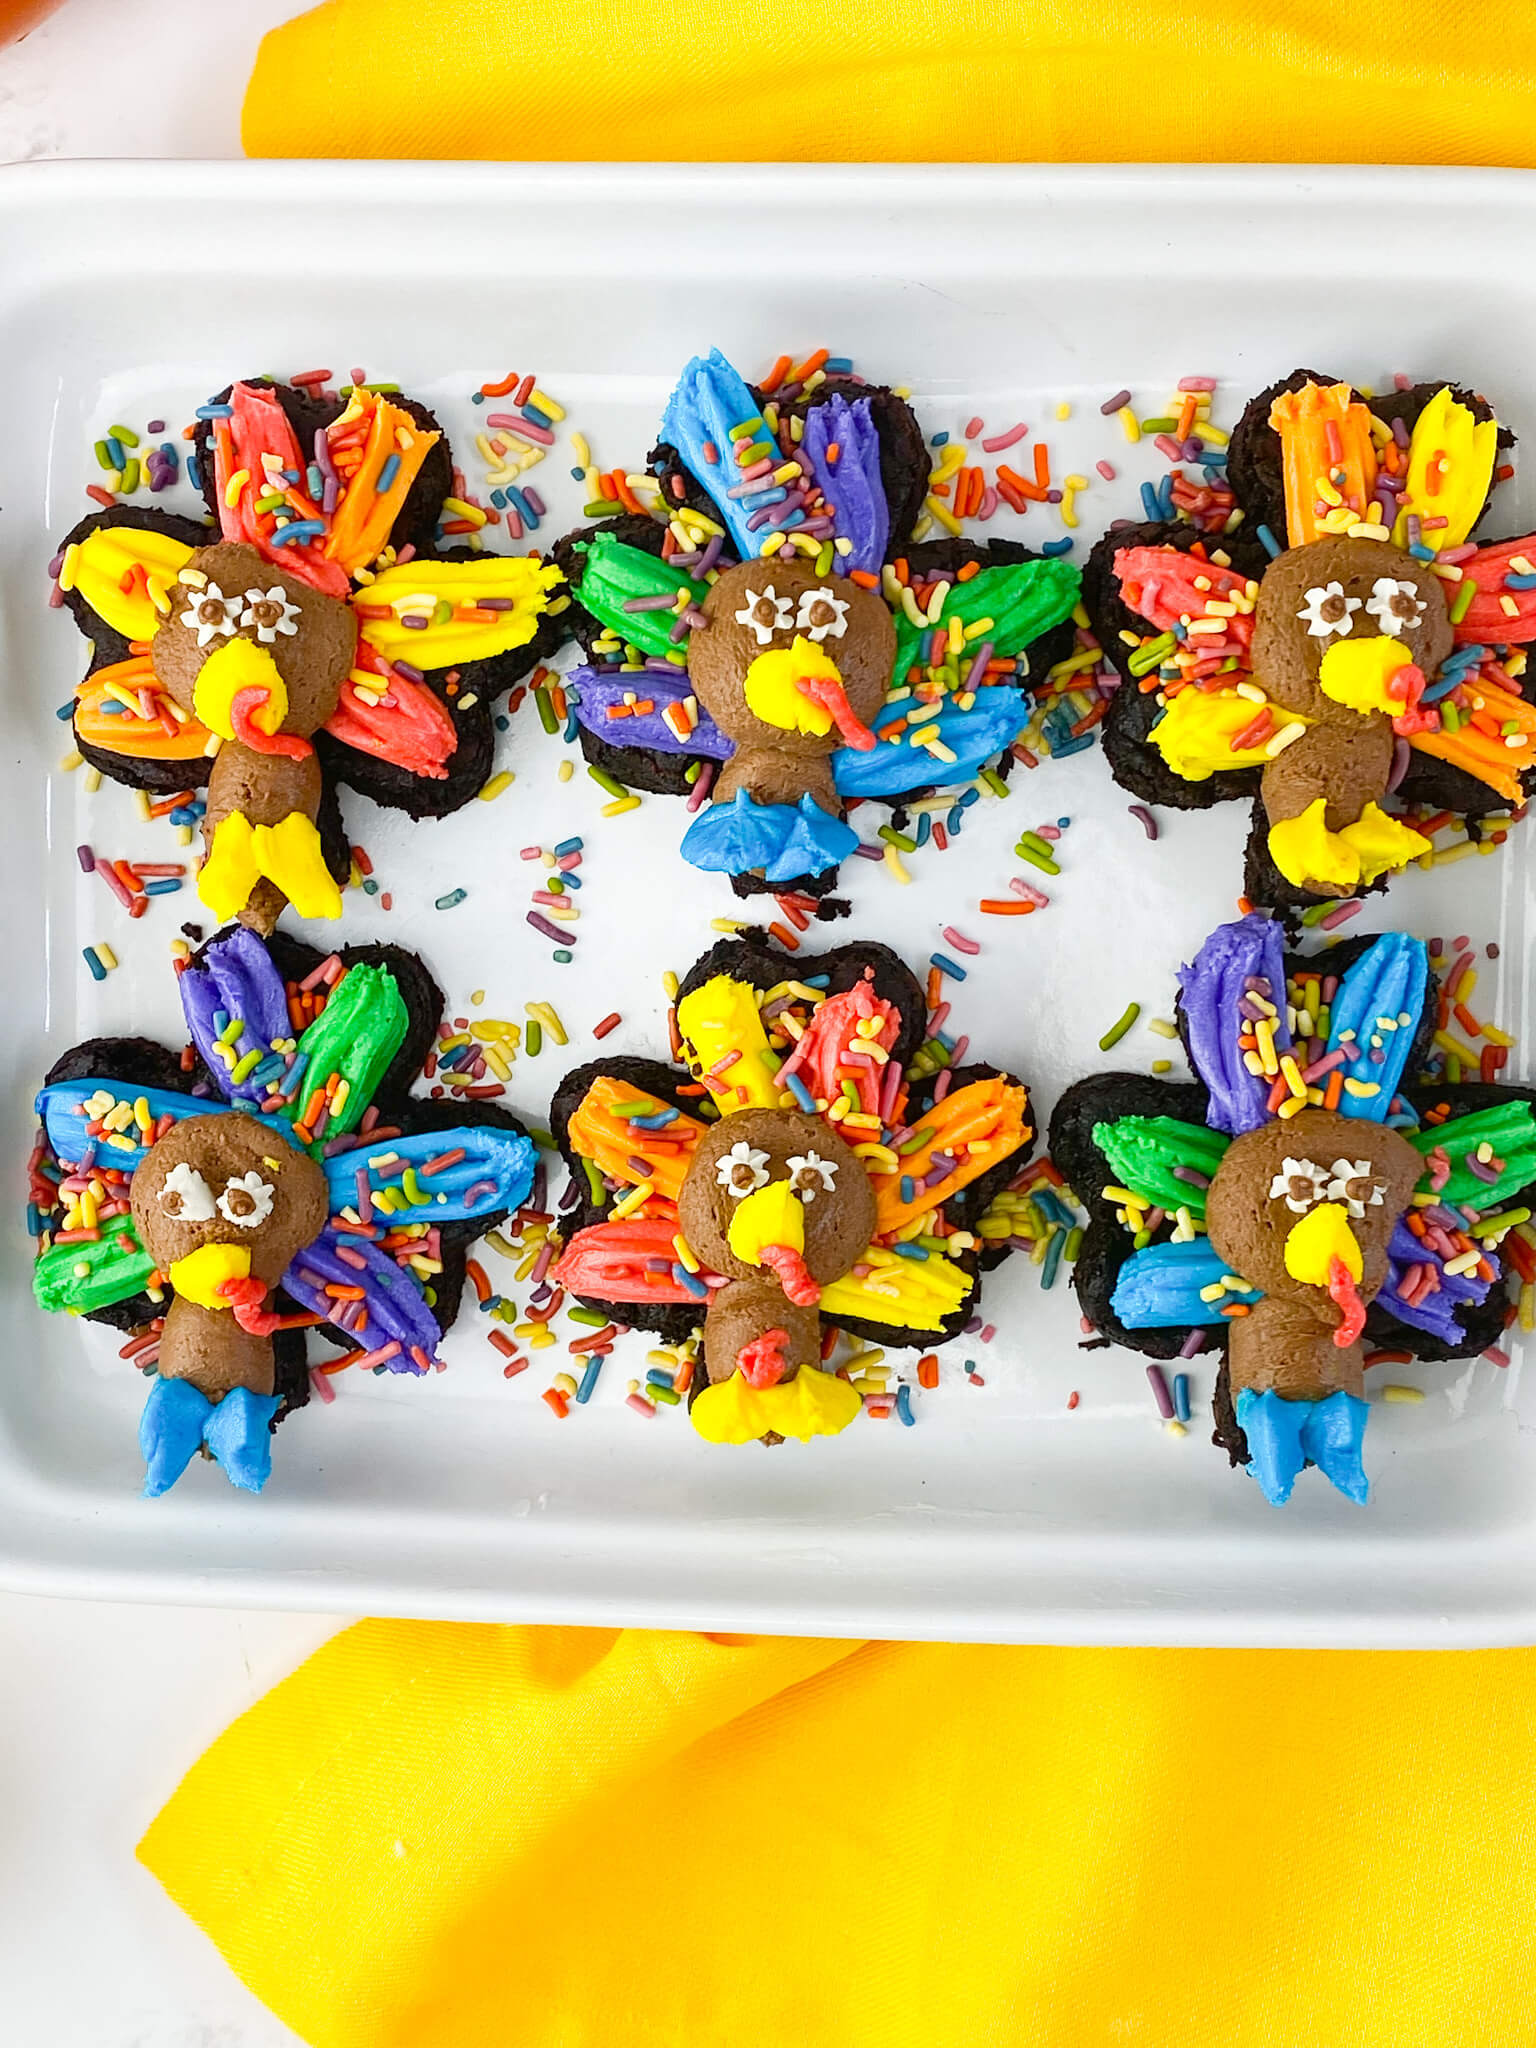
These brownies are best served within 3-5 days and can be placed in the fridge if you’d like, just remove an hour or so prior to serving.
Love brownies?! Check out more brownie recipes here,
